
Learn how to set up Kiosk Mode Bidding on the event website.
🖥️ What is Kiosk Mode Bidding?
Kiosk Mode Bidding lets your guests bid on items from devices you set up — most often tablets — using a simplified version of your auction website.
It’s perfect for in-person events where guests can browse and bid without needing to log in themselves.
🚀 Open Kiosk Mode Bidding
From your main Auction Dashboard, click Bidding (left sidebar, Actions) Kiosk Mode Bidding.
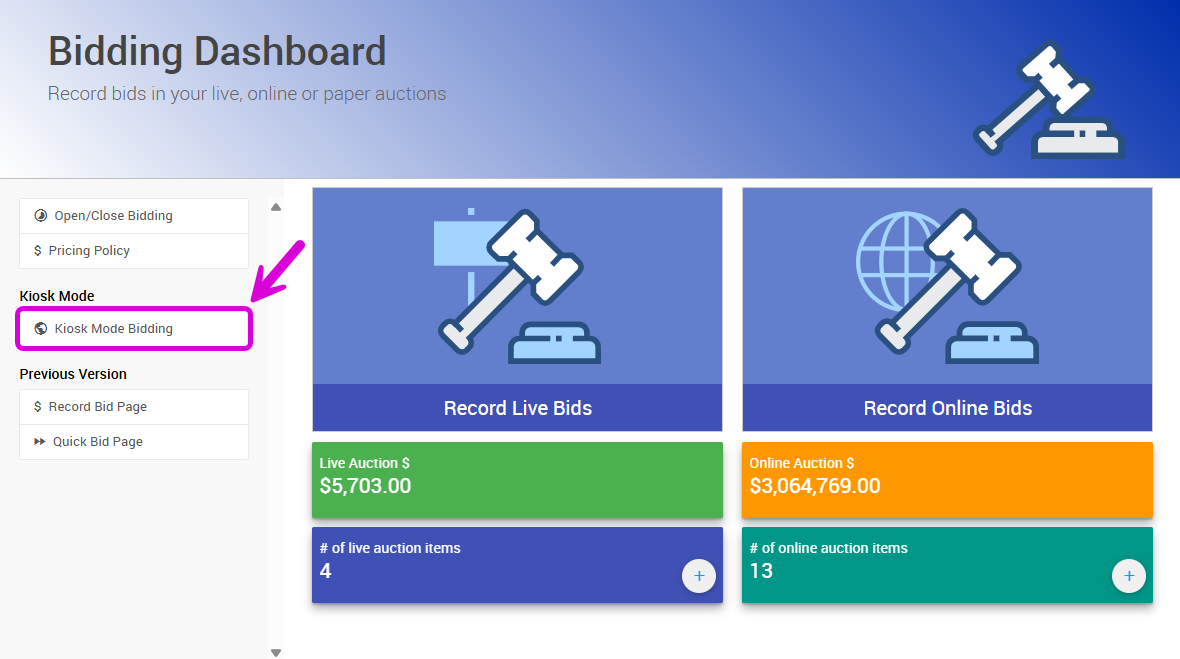
All examples taken from a demonstration event.
This will open the Kiosk Mode Bidding dashboard.
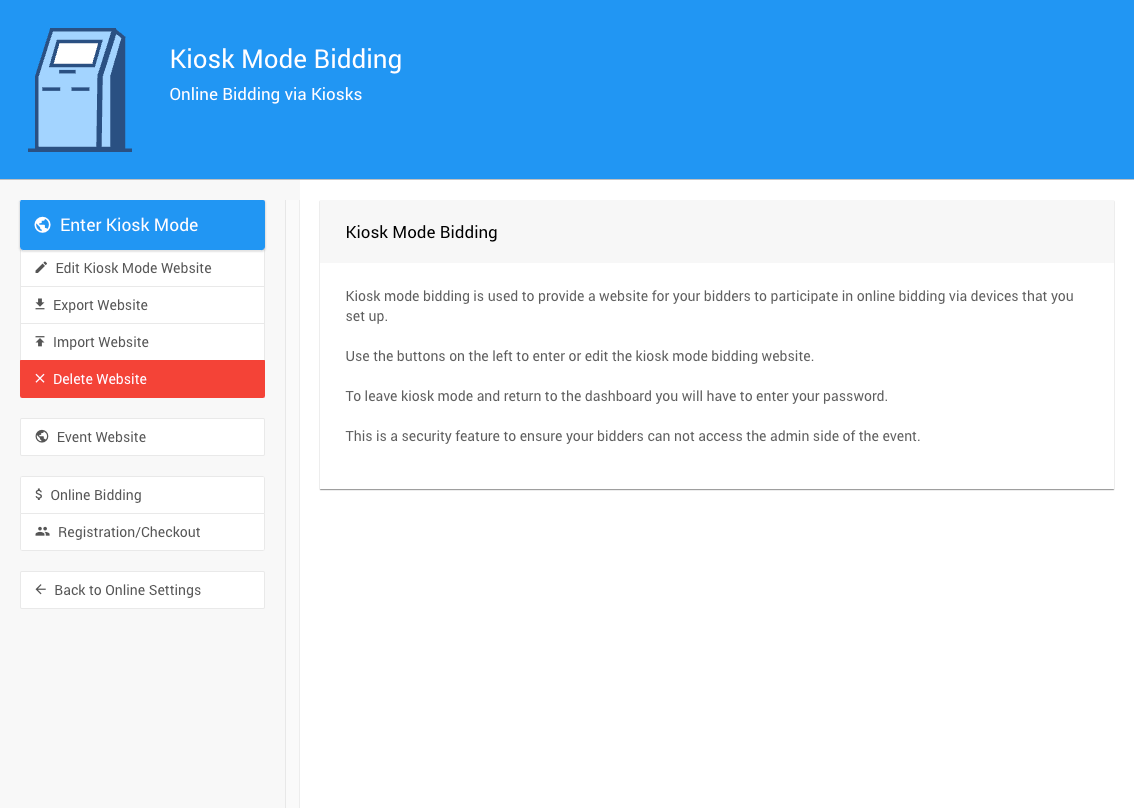
The Kiosk Mode Bidding dashboard before entering kiosk mode.
You’ll use the sidebar on this page to manage everything related to Kiosk Mode Bidding.
📲 Enter Kiosk Mode
To launch your kiosk site:
- On a tablet (or any shared device), open the Kiosk Mode Bidding Dashboard (see above).
- Click Enter Kiosk Mode.
This opens a version of your auction website that’s optimized for tablets — clean, simple, and ready for your guests to start bidding!
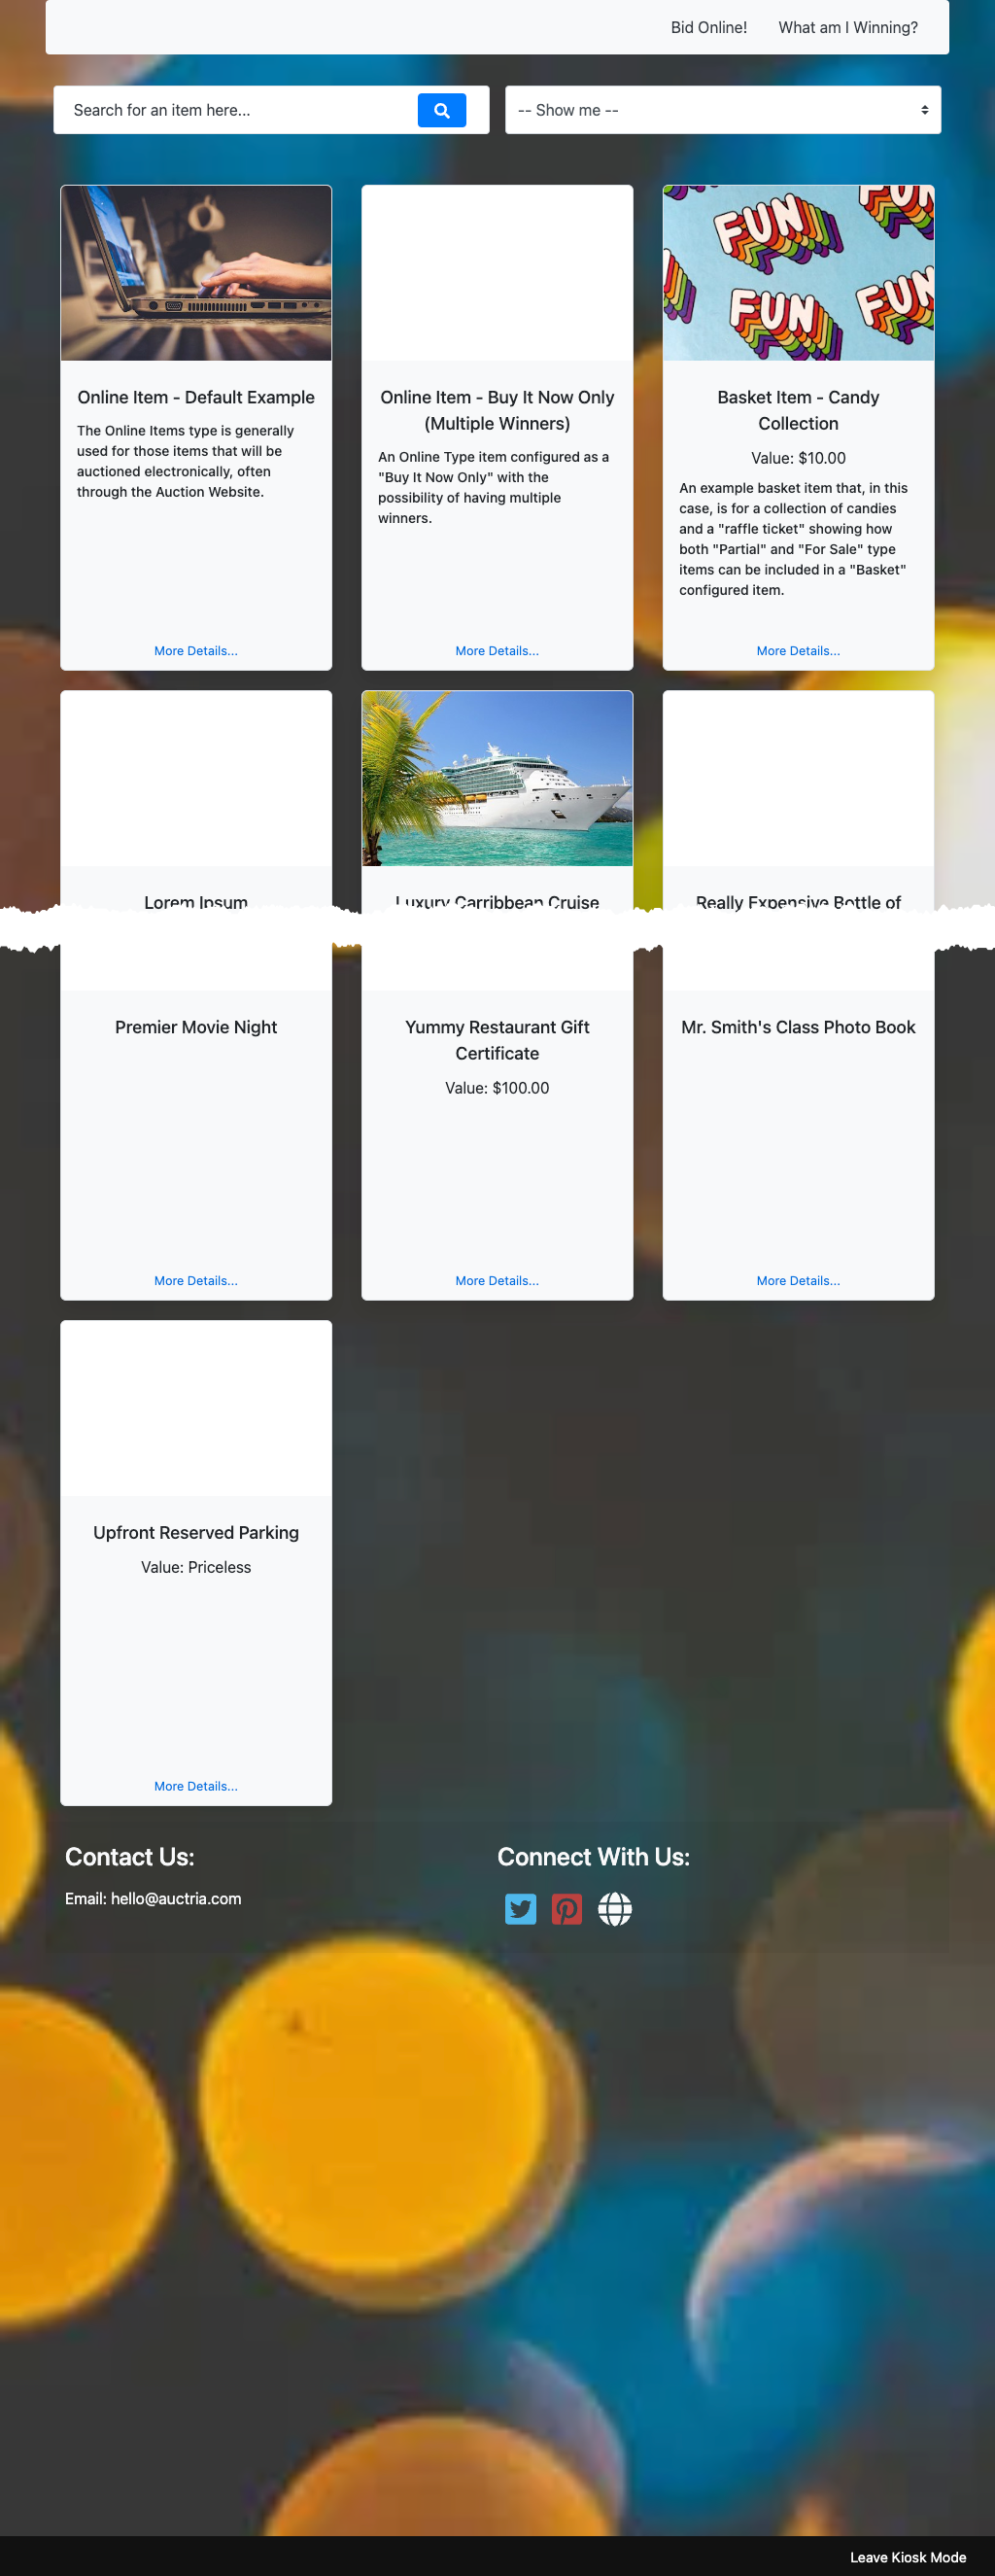
An example from a demonstration event.
✏️ Edit the Kiosk Website (advanced)
You can customize your kiosk website using the Website Editor. Changes to the Kiosk Mode Website are made the same way you would edit your main event website.
💡 Note: The kiosk website and your main auction website are completely separate. Changes made to one do not carry over to the other.
By default, the Item Catalog used on the Kiosk Mode Site dispays items with the Online Bidding type.
See Configure Items Displayed and Online Bidding Type for more details.
📤 Export Website
Click Export Website to download a date-stamped file named website_export.dat.
This file can be used later to restore or copy your kiosk website setup with the Import Website function.
📥 Import Website (advanced)
Click Import Website to choose a .dat file (previously created using Export Website) and upload it to restore a kiosk setup.
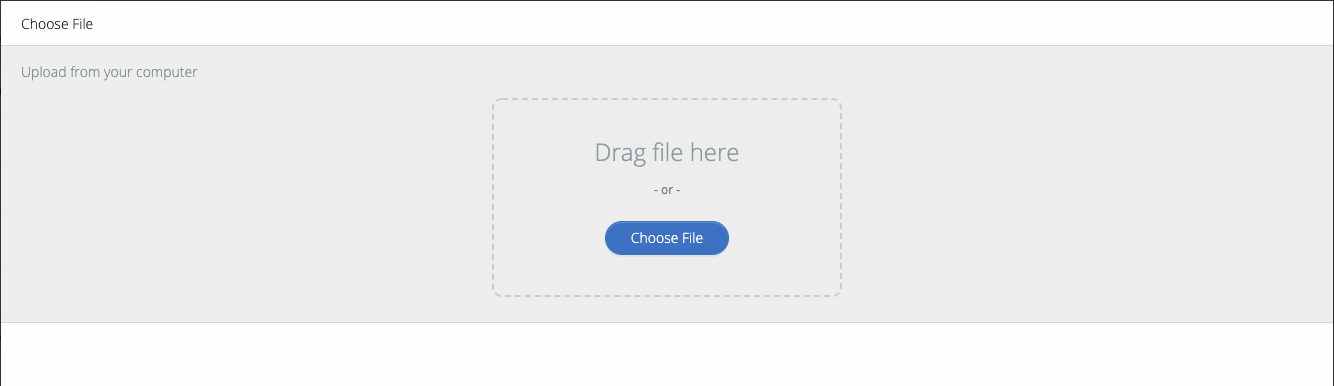
⚠️ Make sure you’re importing a file that was exported from a Kiosk Mode Website, not your main auction website.
🗑️ Delete Website
Click Delete Website to remove your current kiosk site. You’ll need to type YES to confirm.
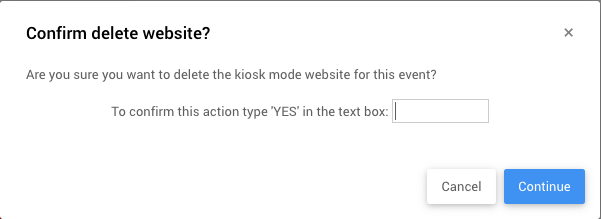
Continuing with this operation will remove the current kiosk mode website. Once deleted, you can generate a new default kiosk site anytime by clicking Enter Kiosk Mode again.
Event Website
This leads to the main Event Website Guest Experience.
Online Bidding
This leads to the Online Bidding Settings dashboard.
Registration/Checkout
This leads to the Registration/Checkout dashboard.
Exit Kiosk Mode
When you’re done, scroll to the bottom of the kiosk screen and click Leave Kiosk Mode (bottom-right corner).
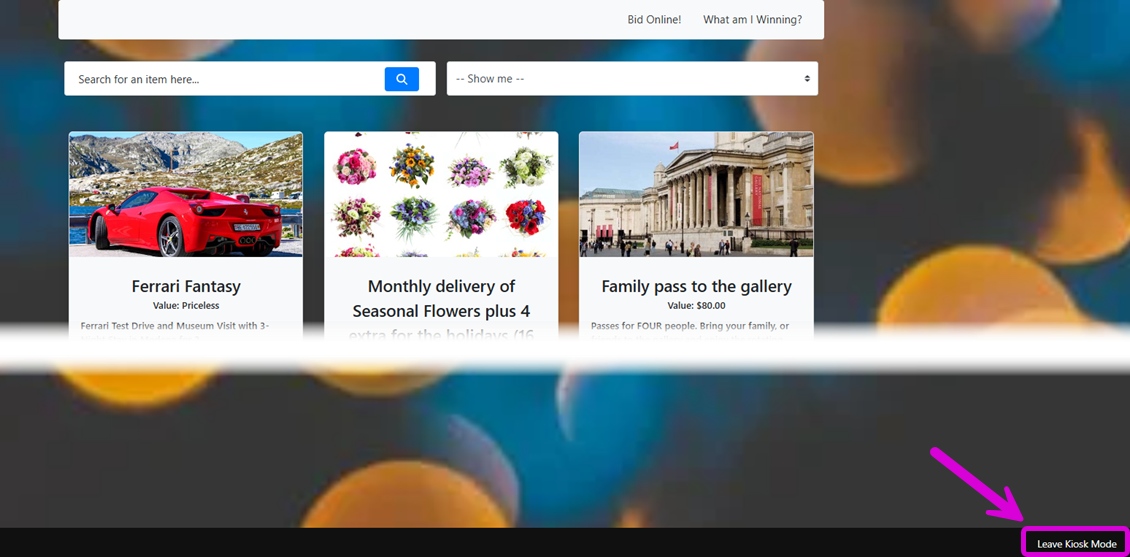
A confirmation pop-up will appear:
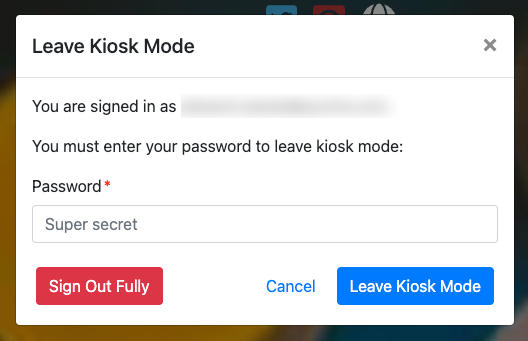
- Sign Out Fully → Logs out of Auctria completely and returns to the Auctria sign-in page.
- Leave Kiosk Mode → Exits kiosk mode and opens your Event Dashboard.
- You’ll need to enter your password to confirm — this security feature keeps your dashboard protected from guests.
🔐 Password protection helps ensure that bidders using your kiosks can’t access the admin side of your event.
📘 Tip: Before using kiosk mode at your event, review the page Mobile Device Locking for helpful setup tips and security recommendations.