
Learn how to manage the user accounts that can access your organization's event dashboards, and set what each user can do.
Your organization can have multiple user accounts so you can work on events together. Each user is identified by their email address and has a permission level that controls what they can view and change.
Opening the Users Page
- Click Organization in the left sidebar.
- Click Users in the organization sidebar.
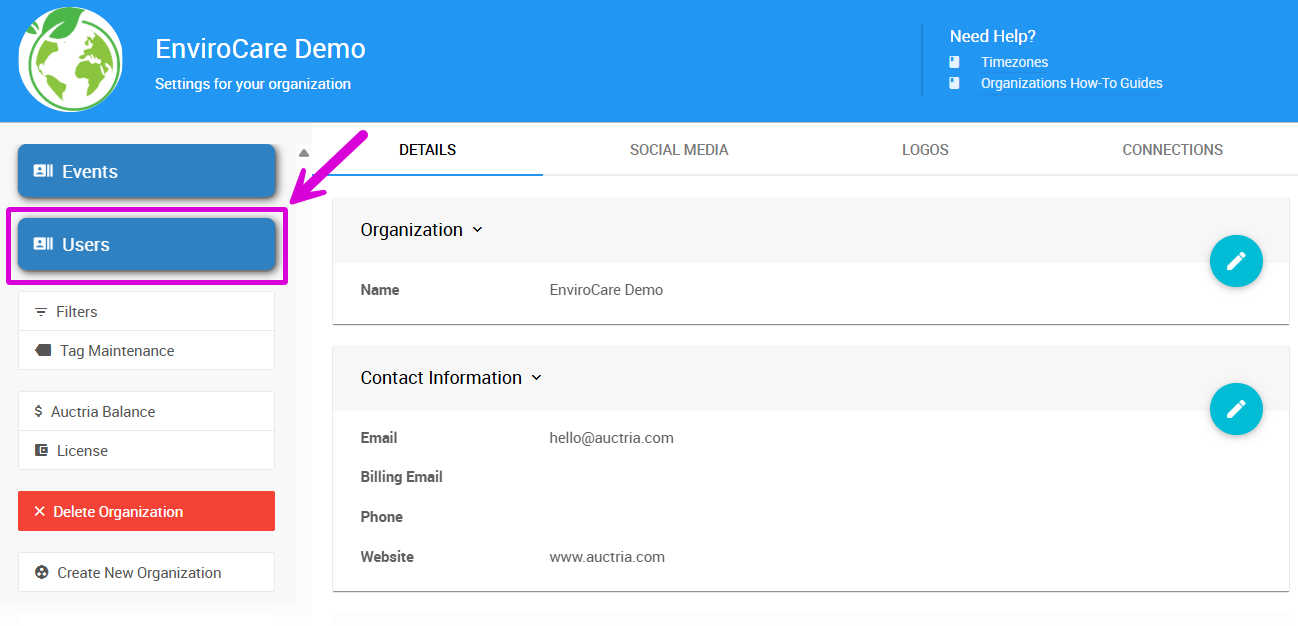
An example Users page from a demonstration event.
Understanding User Permissions
Permission levels let you give each person the access they need while protecting sensitive information and preventing accidental changes.
Permission Levels
| Permission Level | What They Can Do |
|---|---|
| None | Can't view or edit the event. Use this as a default and then grant access to specific events, or to block access to one event. |
| Read Only | Can view all event data but can't make changes. Useful for board members or volunteers who need to see information but shouldn't edit it. |
| User | Can make normal changes, such as adding participants, items, and donors, recording bids, and processing checkout payments. Can't delete records or perform bulk operations (like sending statements to all participants). |
| Power User | Same as User, plus deleting records and all bulk operations. Can't create events or manage organization settings. This is the minimum level needed to edit the event website. |
| Admin | Full access, including managing the organization, creating and deleting events, adding and removing users, setting up text messaging, and issuing credit card refunds. Only Admins can issue credit card refunds. |
Blank Permission Level
If a user's permission level is blank, they don't have a default permission. They have only the permissions set for them on individual events.
The Admin Column
To make someone an administrator, set their Permission level to Admin. There's no separate administrator setting.
The Admin column on the Users list marks every user whose permission level is Admin.
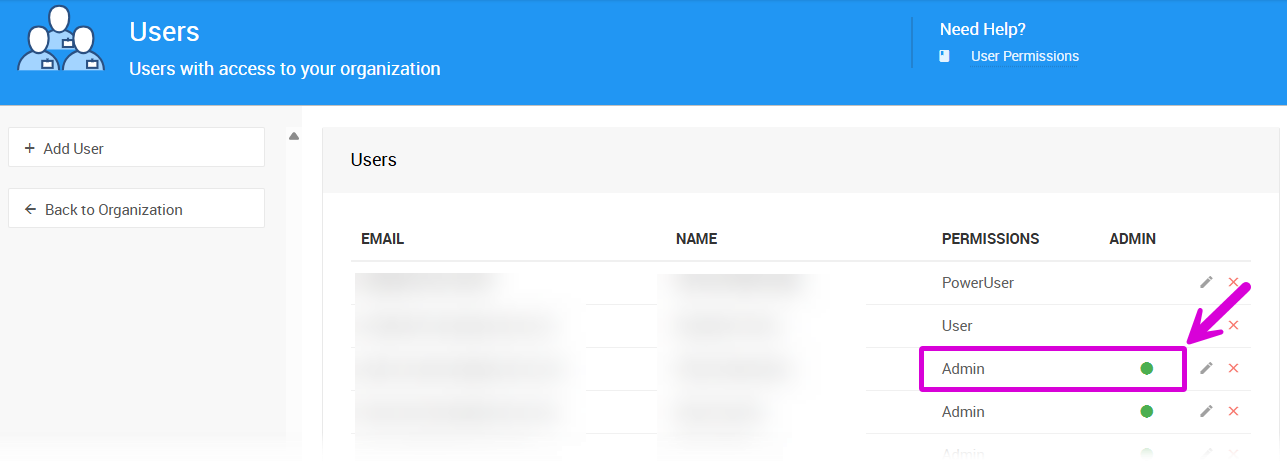
The Admin column on the Users list.
Editing a User
Each user's Permission level is their default for all events in your organization. It's shown on the Users list.
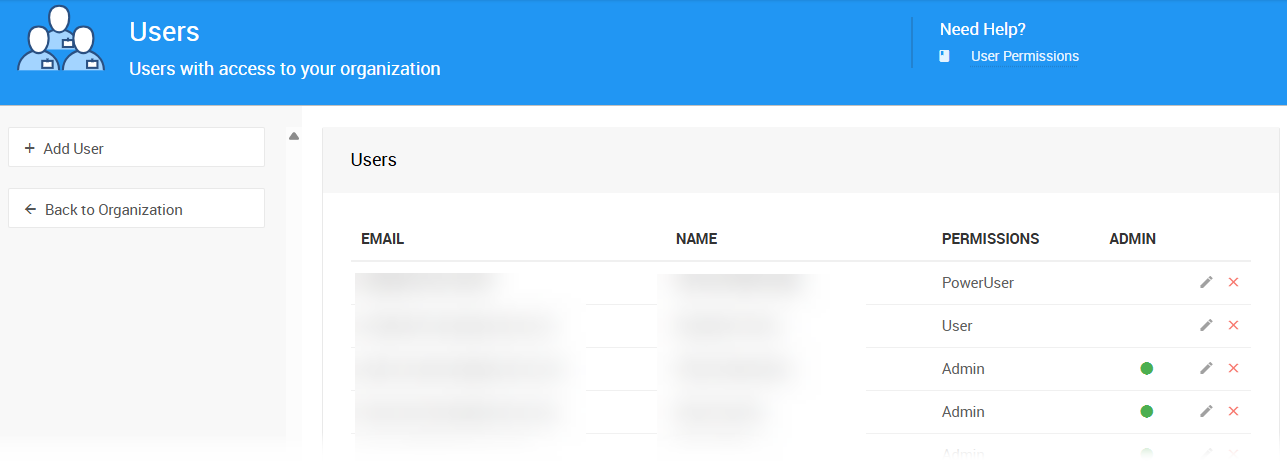
Default permission levels on the Users list.
Steps
- On the Users page, find the user you want to change.
- Double-click their row, or click the pencil icon at the far right of the row. The User Details page opens.
- In the Options section, change the Permission level.
- Save your changes.
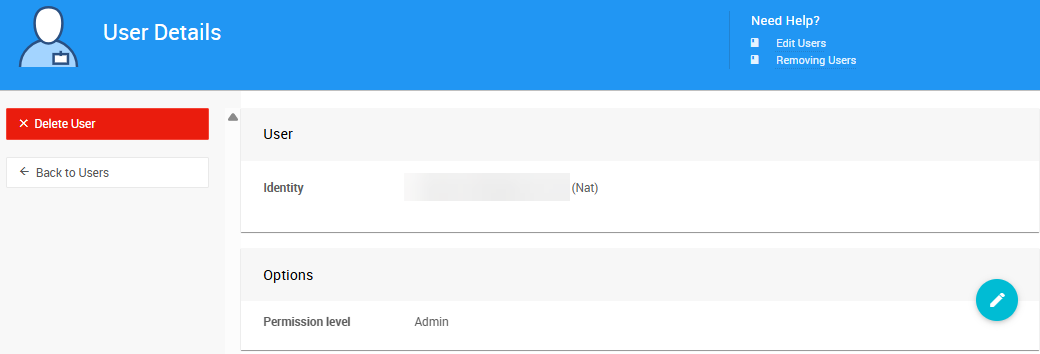
The User Details page.
The User Details page shows the user's identity and the Options section with their Permission level. The Delete User button in the sidebar removes the user. See Removing Users.
You Can't Change a User's Email Address
A user's email address is their sign-in identity and can't be changed. If someone needs to use a different email address, replace the user. See Replace A User.
Common Changes
| Change | How |
|---|---|
| Give a volunteer more access | Raise their permission level from User to Power User so they can delete records and perform bulk operations. |
| Give someone full access | Set their Permission level to Admin. Change it back when they no longer need full access. |
| Limit access after an event | Change volunteers from User to Read Only so they can still view data but not make changes. |
| Limit access to certain events | Set their default permission to None, then give them access to specific events with event-specific permissions. |
Event-Specific Permissions
You can give a user a different permission level for an individual event. This helps when someone needs different access depending on which event they're working on.
Event-Specific Permissions Example
A volunteer has Read Only permission by default, and you give them User permission for the one event they're helping with.
Event-level permissions are set on the Event Details page. See Event Permissions for instructions.
Managing Users
| Task | See |
|---|---|
| Add a new user | Adding Users |
| Remove a user | Removing Users |
| Replace a user | Replace A User |
Best Practices
Start restrictive, then open up. It's easier to grant more access later than to fix problems caused by too much access.
Use event-specific permissions. Give users a default of None or Read Only, then give higher access only for the events they're working on.
Limit Admin access. Only give Admin to people who need organization-level control. User or Power User is enough for most volunteers and team members.
Review permissions regularly. As your team changes and events wrap up, check that each user still has the right access.