
Record a guest's payment on the Checkout page, from finding the guest to making the payment and sending their statement.
Checking out a guest takes three things: find the guest, choose how they're paying, and make the payment.
Set Up Before Event Night
If you're running checkout, set up payment options and fees before guests arrive. See Before Event Night.
Step 1: Open The Checkout Page
In the left sidebar of the Event Dashboard, click Checkout.
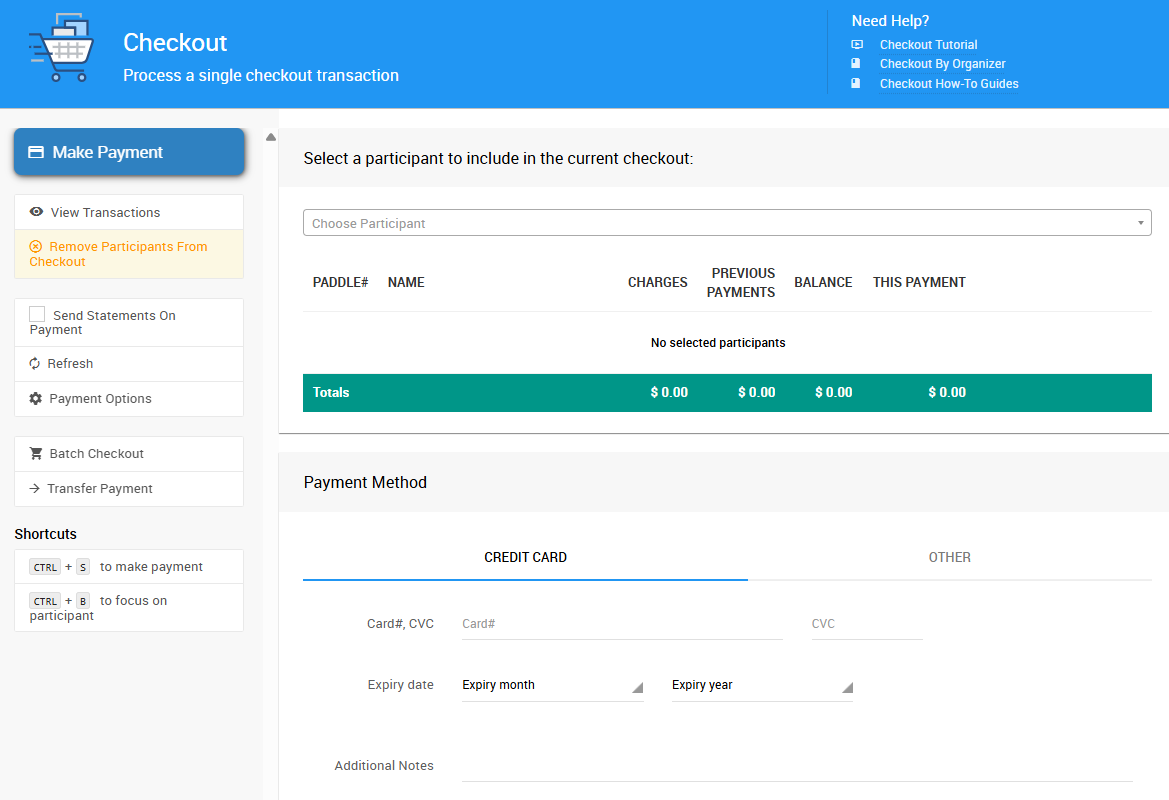
An example Checkout page from a demonstration event.
Step 2: Find The Guest
In the Choose Bidder field, type the guest's name or Paddle#, then click their name. You can also scan their QR code.
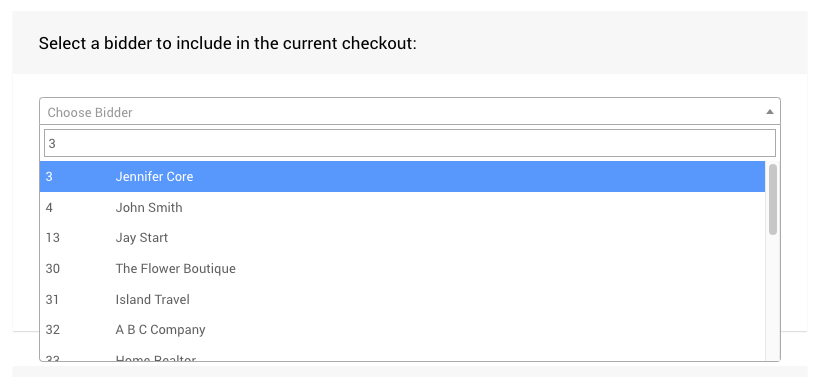
Matching participants appear as you type.
The guest appears as a row with their balance. Their family members are added too.
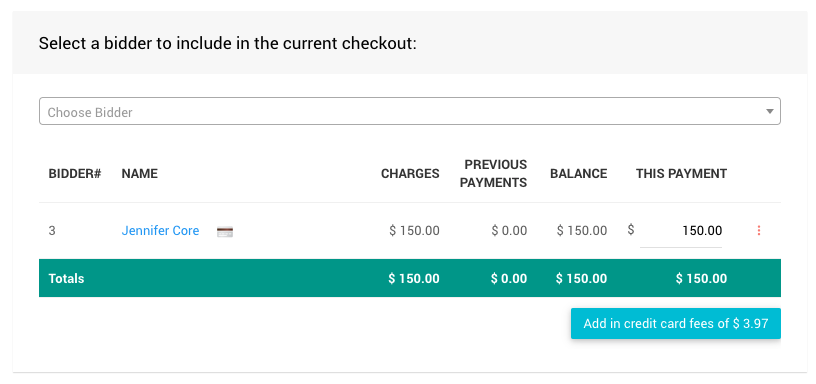
A participant row. A card icon beside the name means they have a registered card.
To pay for more than one guest, search and add each one. You can add up to six.
Remove a guest from the payment
Open the row menu (⋮) and click Remove participant. This only removes them from this payment.
Step 3: Check The Amount
The This Payment amount starts at the guest's balance. Leave it as is to pay in full.
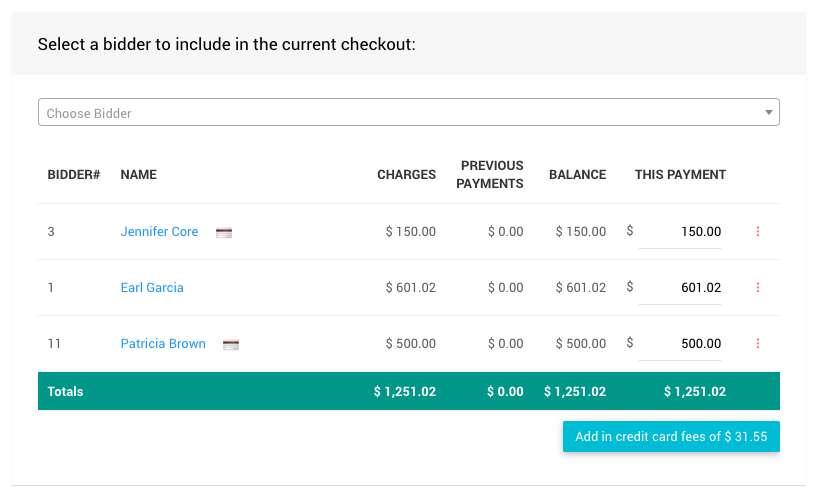
The Total row adds up every participant in the payment.
Partial Payments
To take part of a balance, type a new amount in This Payment. The totals and any credit card fee update automatically.
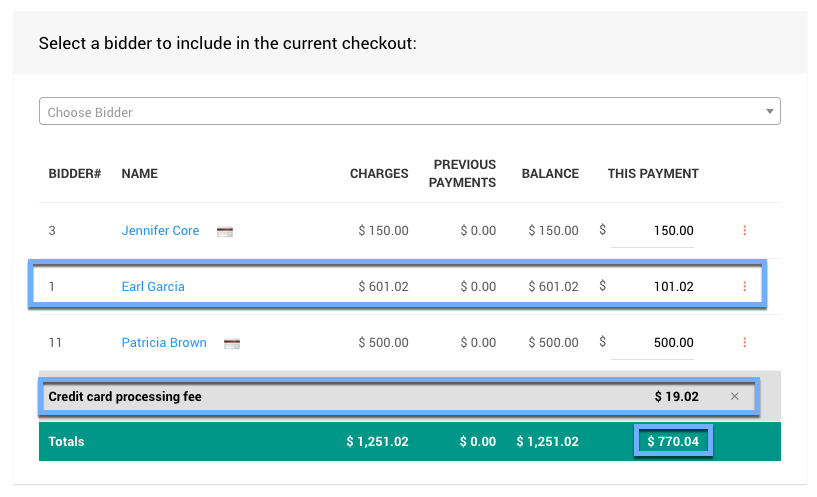
A changed This Payment amount.
To pay for specific items, open the row menu (⋮), click View details, and tick the won items, purchases, or donations being paid. This Payment changes to their total.
Partial payments can only be taken on the Checkout page. Online payments always cover the full balance.
Credit Card Fees
Depending on your event's settings, a Credit card processing fee line may already be added, or you may see an Add in credit card fees of $X button. Click the button to add the fee. Click the red X on the fee line to remove it.
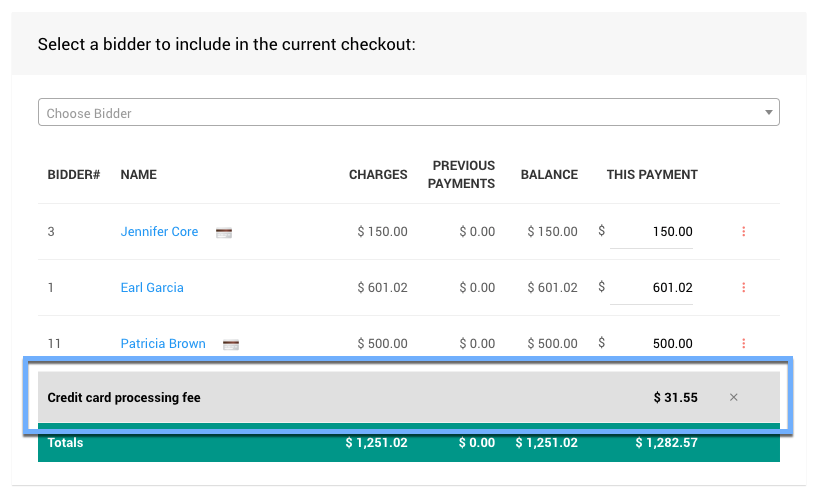
The Credit card processing fee line.
Fees only apply to card payments. See Credit Card Fees for how each Fee Handling setting works.
Step 4: Choose How They're Paying
Click the Payment Method tab that matches how the guest is paying.
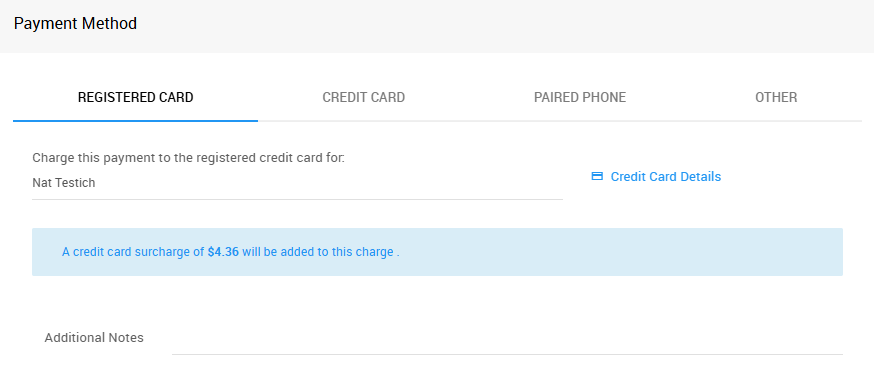
The Payment Method panel.
| Guest Is Paying With | Tab |
|---|---|
| The card they registered | Registered Card |
| A card you type or swipe | Credit Card |
| A card on the card reader | Card Reader |
| A card tapped on a paired phone | Paired Phone |
| Cash, check, or another method | Other, then choose from Paid by |
Charge a different guest's registered card
If more than one guest has a registered card, click the name on the Registered Card tab and choose whose card to use. Only that card is charged, for the full payment.
See Payment Methods for more about each tab.
Step 5: Make The Payment
Cards Are Charged When You Click
Check the amount and payment method before you continue.
Click Make Payment in the sidebar, or press Ctrl + S.
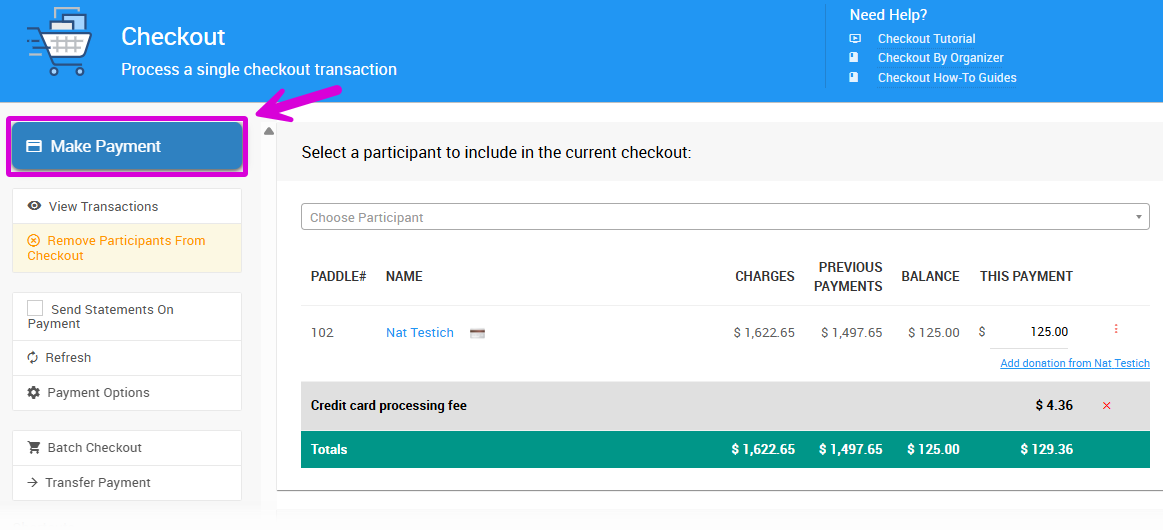
The Make Payment button.
If a Confirm Checkout window appears, check the details and click OK. It only appears when something needs a second look, such as a guest with a registered card paying with Other.
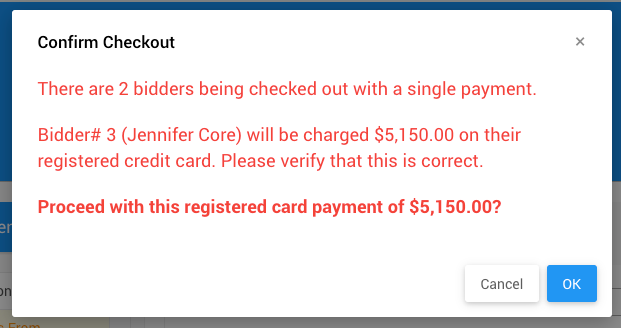
The Confirm Checkout window.
A success message appears. You're ready for the next guest.
Step 6: Send The Statement
The guest appears in Recently Checked Out at the bottom of the page. Use the links under their name to print or email their statement.
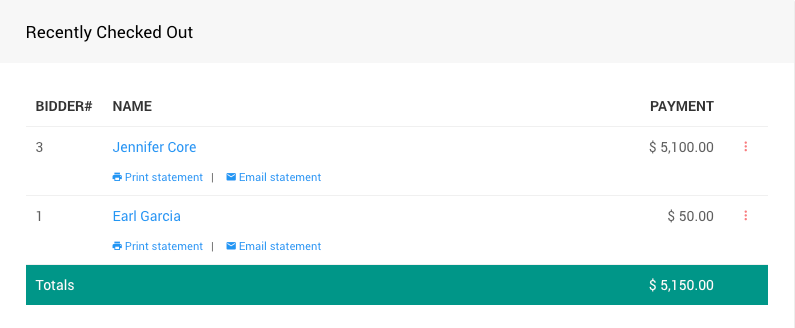
The Recently Checked Out list.
If statements are sent automatically for your event, you can skip this step.
Troubleshooting
| Problem | What To Do |
|---|---|
| The payment stops with Checkout aborted as balance for bidder# N… | Someone changed the guest's balance. Click Refresh in the sidebar and try again. |
| An error when you add a guest | You've reached six guests. Make this payment, then start a new one. |
| A card payment fails | Ask for another card, or use a different tab. |
Before Event Night
If you're the event administrator, set these up before checkout starts:
| Setting | Why It Matters | Where |
|---|---|---|
| Credit card processing | Needed for every card tab. Strongly recommended. | Introduction To Credit Cards |
| Default payment method | Saves a click for every guest. | Default Payment Method |
| External payment options | Sets the Paid by list for cash, check, and other payments. | External Payment Options |
| Send statement when payment made | Sends statements automatically, so volunteers can skip Step 6. | Send Statement When Payment Made |
| Fee Handling | Decides whether credit card fees are added. | Fee Handling |
| Card reader or paired phone | Lets volunteers tap cards. | Standalone Card Readers, How To Pair A Phone And Laptop |