
Learn how to create, upload, and attach PDF stationery files so your printed forms include your logo, address, and other branding.
A stationery file is a PDF that works like letterhead. Auctria prints the form on top of it, so anything on the stationery, such as your logo or a header, appears on every page.
This bid sheet uses stationery for the graphics and text across the top of the page. The rest of the bid sheet is printed below it.
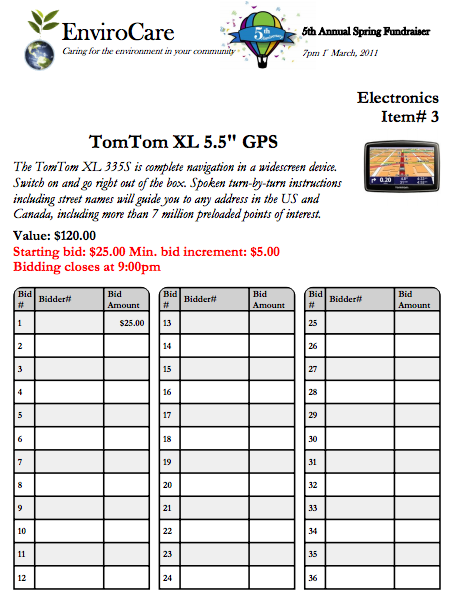
A bid sheet printed on stationery.
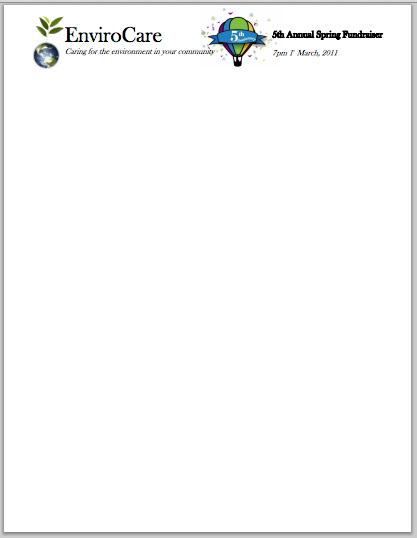
The stationery file used for the bid sheet above.
Using stationery takes three steps:
You can upload as many stationery files as you need, and use a different one for each form. Each form can only use one stationery file at a time.
Step 1: Create a Stationery File
Stationery File Guidelines
- The file must be a PDF. It can't be an image or a Word document.
- The page size must match the page size of the form. For example, a letter-size bid sheet needs letter-size stationery. If you print your catalog as a booklet on Statement (5.5x8.5) pages, your catalog stationery must be Statement size too.
- Bid Sheets don't have left and right margin settings, so bid sheet stationery works best with content only at the top or bottom of the page. Display Pages, Gift Certificates, and the Catalog have left and right padding settings if your stationery has content down the sides.
- White areas of a form, such as the background of the bid sheet grid, aren't transparent. If your stationery has a background image, it won't show through those areas.
You can create a PDF in most programs. The steps depend on the program you use.
From Microsoft Word on Windows
Click File → Export.
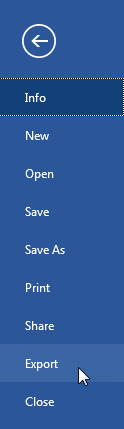
The Export page in Microsoft Word. Newer versions of Word look different but use the same steps.
Click Create PDF.
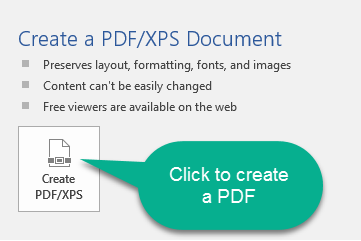
The Create PDF button in Microsoft Word.
Choose where to save the file, and click Publish.
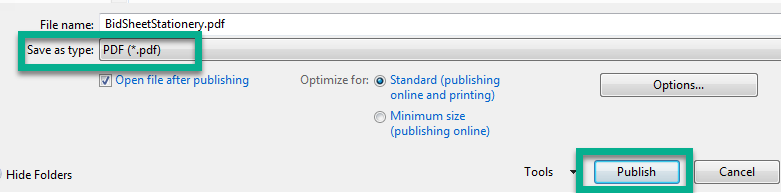
The save dialog in Microsoft Word.
From a Mac
In any program's Print dialog, click the PDF drop-down and choose Save as PDF.
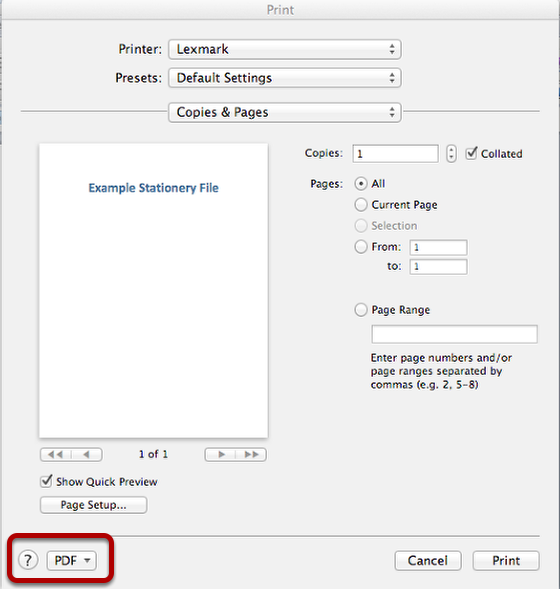
The Print dialog on a Mac.
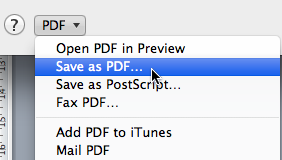
The PDF drop-down on a Mac.
From Google Docs
Click File → Print, choose Save as PDF as the destination, and click Save.
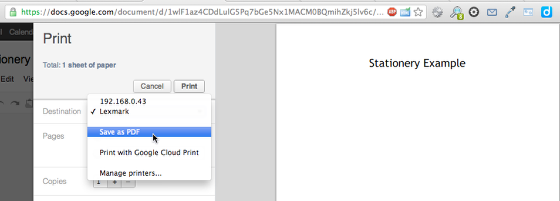
The Print dialog in Google Docs.
From Any Other Program
Windows includes a Microsoft Print to PDF printer, and Macs have Save as PDF in every print dialog. You can create a PDF from any program that can print.
Step 2: Upload the Stationery File
From the main event dashboard, click Printing, then click Stationery in the sidebar.
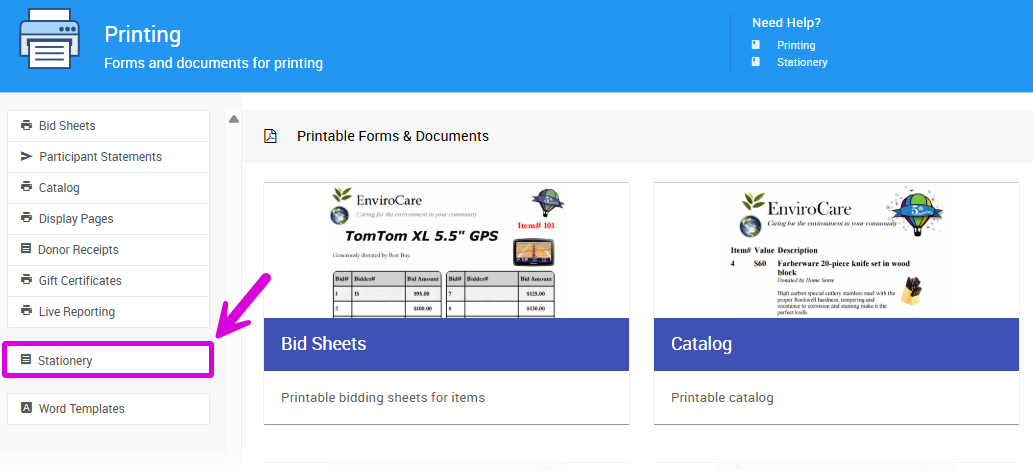
An example from a demonstration event.
Click the + icon or Add Record to open the Add Stationery page.
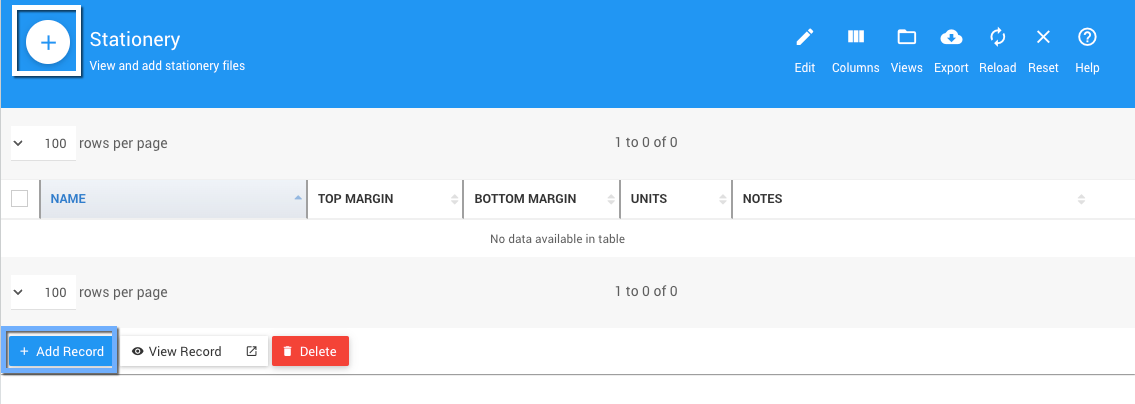
An example Stationery list from a demonstration event.
Enter a Name for the stationery. Include the paper size in the Name or Notes, so you can pick the right one for each form.
Enter the top and bottom margins, and choose the unit (inches or centimeters). The margins keep the form's content clear of anything at the top and bottom of your stationery.
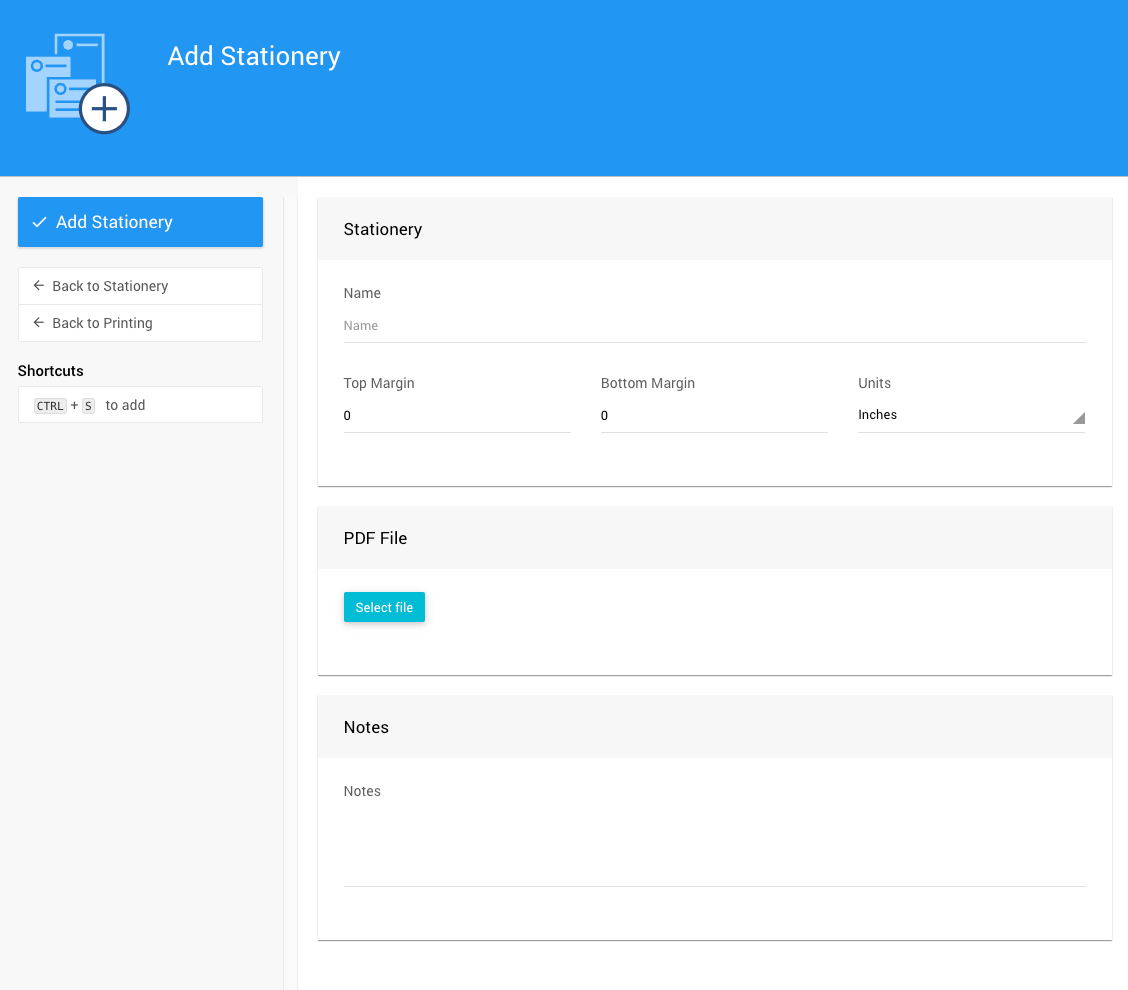
An example Add Stationery page from a demonstration event.
In the PDF File section, click Select file, then browse to your PDF or drag it into the window. When the upload finishes, a Download file link appears beside the button.
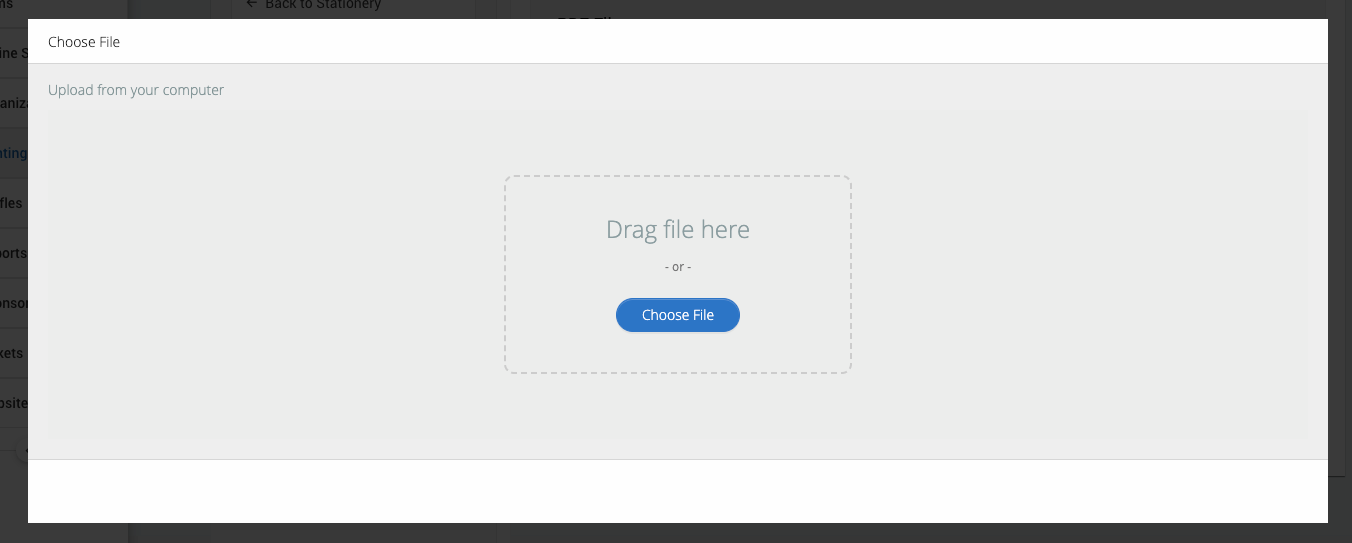
An example from a demonstration event.
Click Add Stationery in the sidebar.
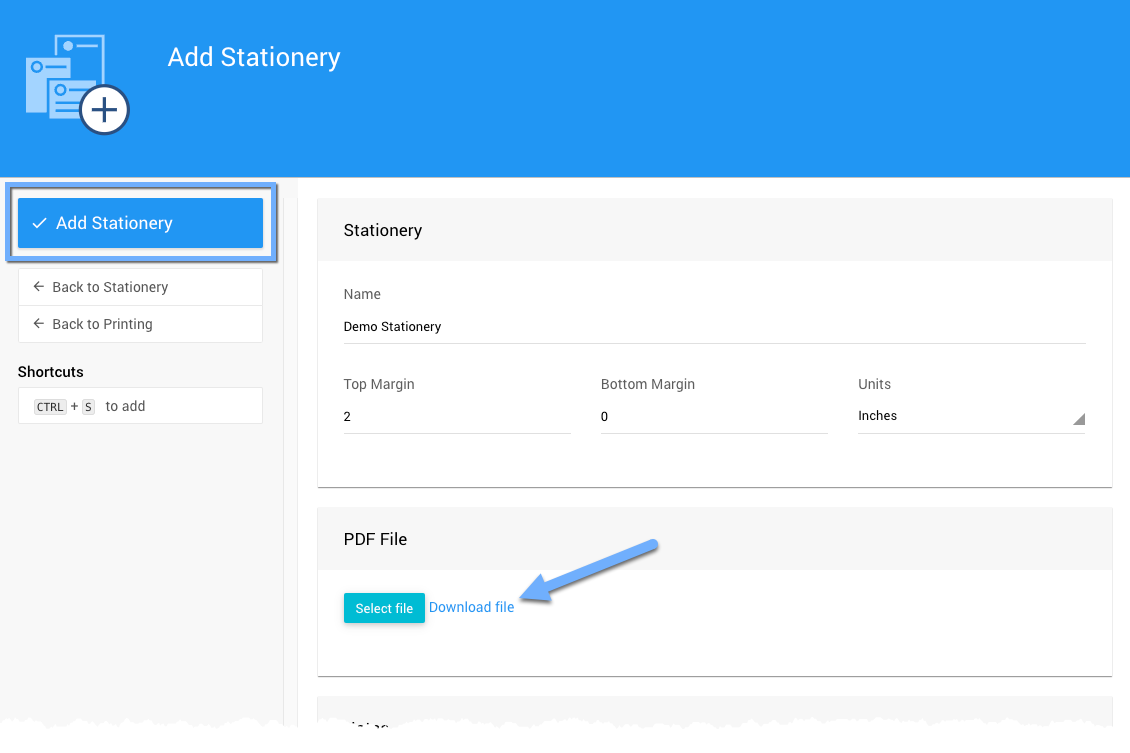
An example from a demonstration event.
Your stationery is now available to choose on any form that uses stationery.
Manage Your Stationery
The Stationery page lists your stationery files by name.
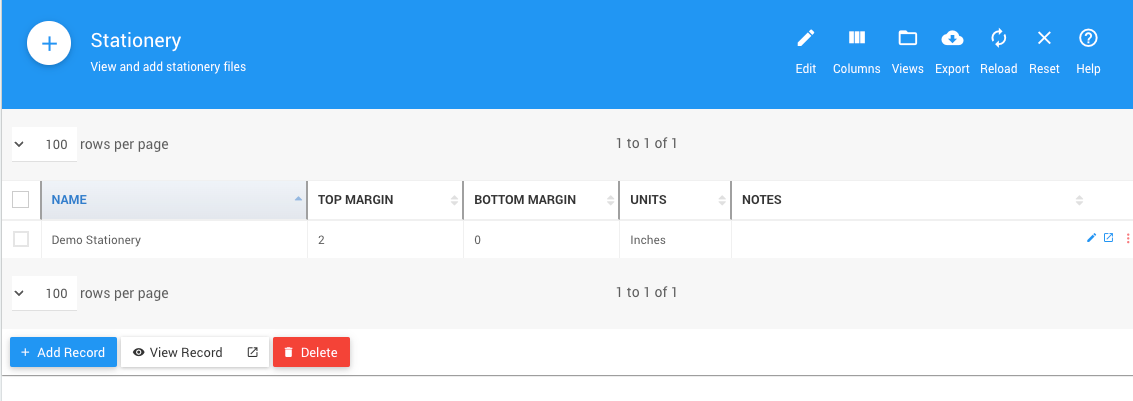
An example from a demonstration event.
| Action | Description |
|---|---|
| + Add File | Uploads another stationery file. |
| View Record | Opens the selected file's details, where you can change its margins and other settings. |
| Delete | Deletes the selected stationery file. |
| Open File | On a file's details page, opens the PDF. |
| Replace File | On a file's details page, uploads a new version of the PDF. Forms that use the stationery keep using it, so you don't need to attach it again. |
Step 3: Attach Stationery to a Form
Open the form, then click its Options tab. For participant statements and donor receipts, click the Appearance tab of the printed form.
Click the pencil icon on the panel with the stationery setting (see the table below).
Choose your stationery from the drop-down.
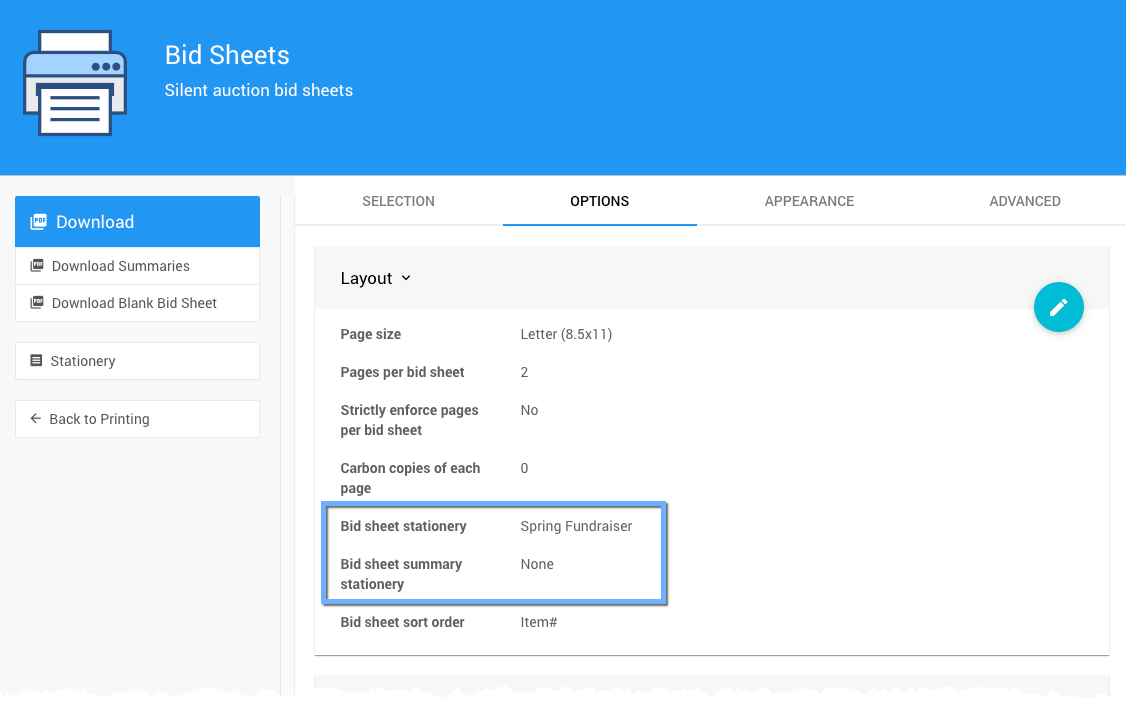
An example Options tab from a demonstration event.
Click the checkmark to save.
To check how it looks, click Download and open the PDF.
| Form | Tab and Panel | Setting |
|---|---|---|
| Bid Sheets | Options → Layout | Bid sheet stationery and Bid sheet summary stationery |
| Catalog | Options → Page | Catalog stationery, and Catalog coversheet for a separate cover page |
| Display Pages | Options → Layout | Display page stationery |
| Gift Certificates | Options → Layout | Certificate stationery |
| Participant Statements | Appearance (printed statements only) | Statement stationery |
| Donor Receipts | Appearance (printed receipts only) | Donor receipt stationery |
| Reports, including the Live Reporting Sheet | — | Report stationery |
Stationery Examples
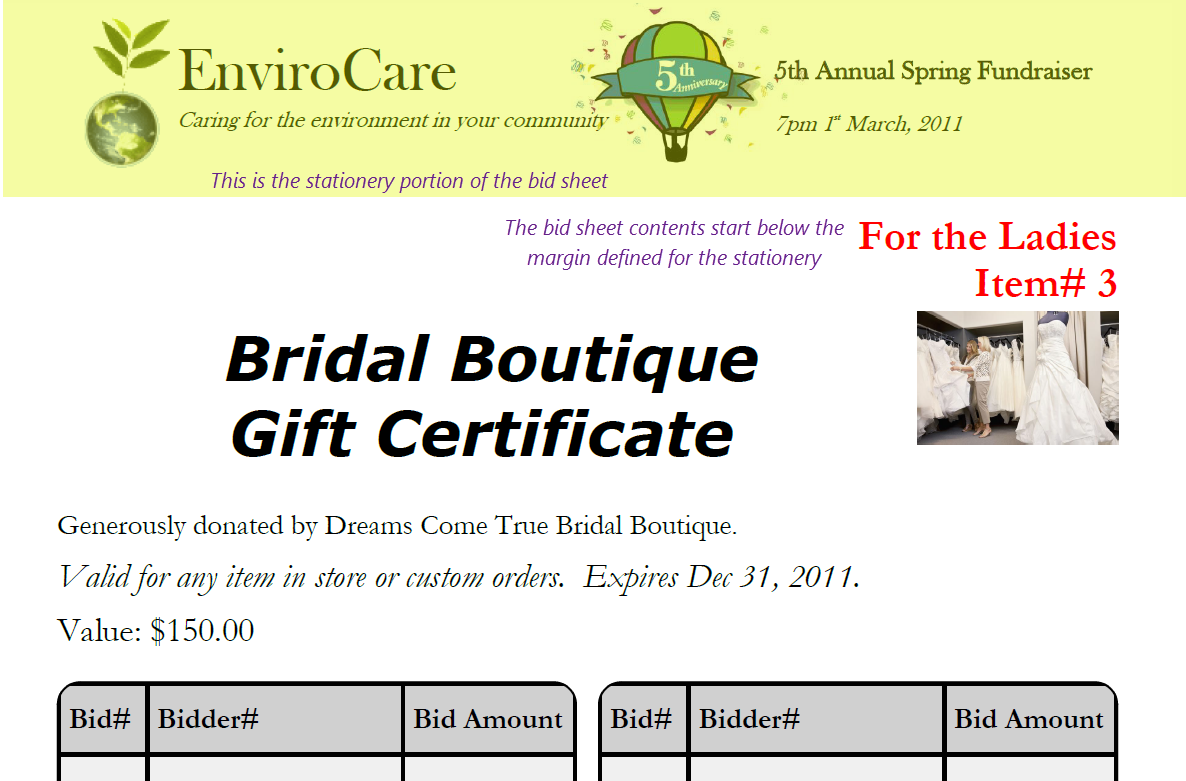
A bid sheet.
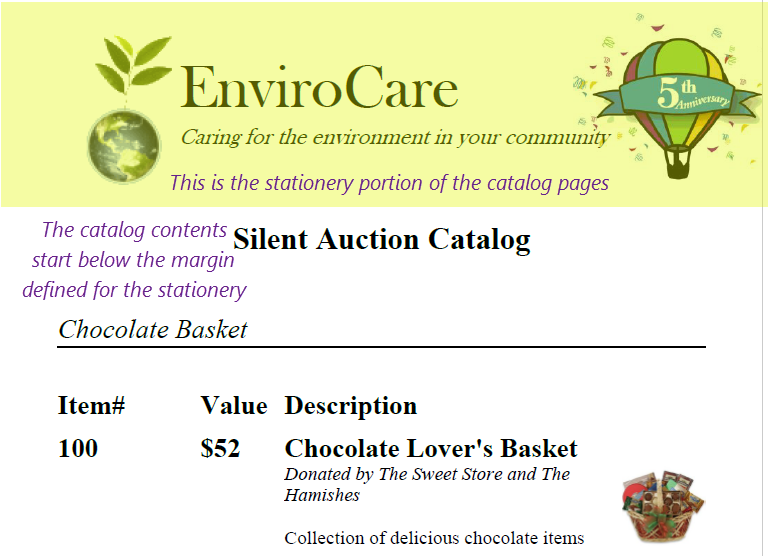
A catalog page.

A display page.

A gift certificate.
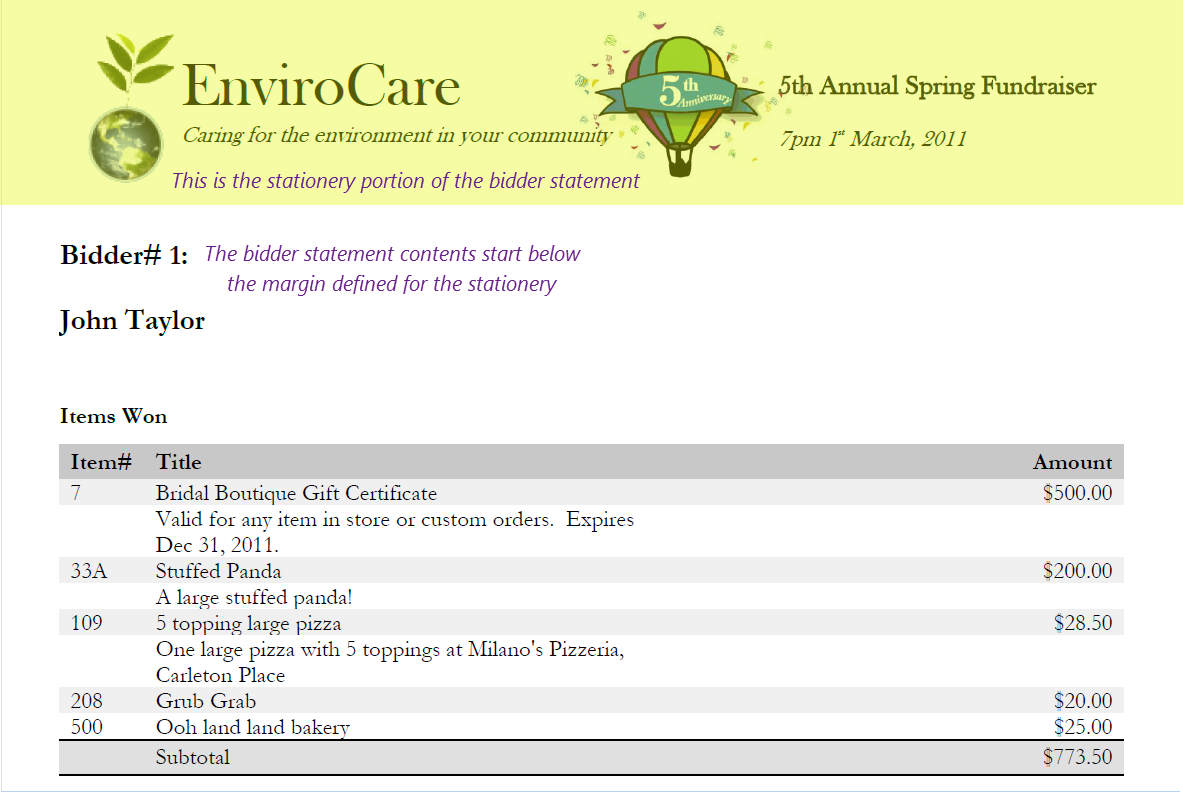
A participant statement.
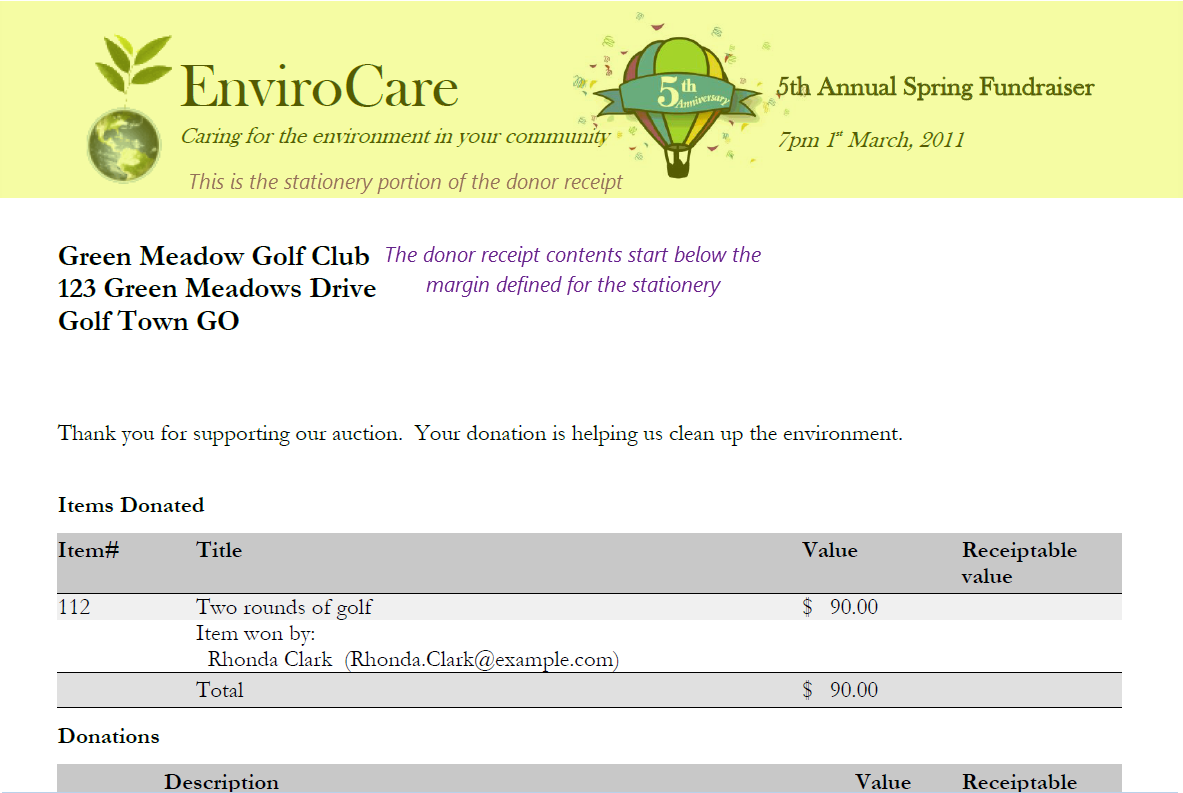
A donor receipt.