
Learn how to choose which items appear in your printed event catalog, set its layout, sections, and fonts, and download it as a PDF.
The Event Catalog lists the items at your event in a single PDF file. You can print it for participants to use at the event, or share it electronically.
How Did I Get Here?
From the main event dashboard, click Printing, then click the Catalog block in the Printable Forms & Documents section.
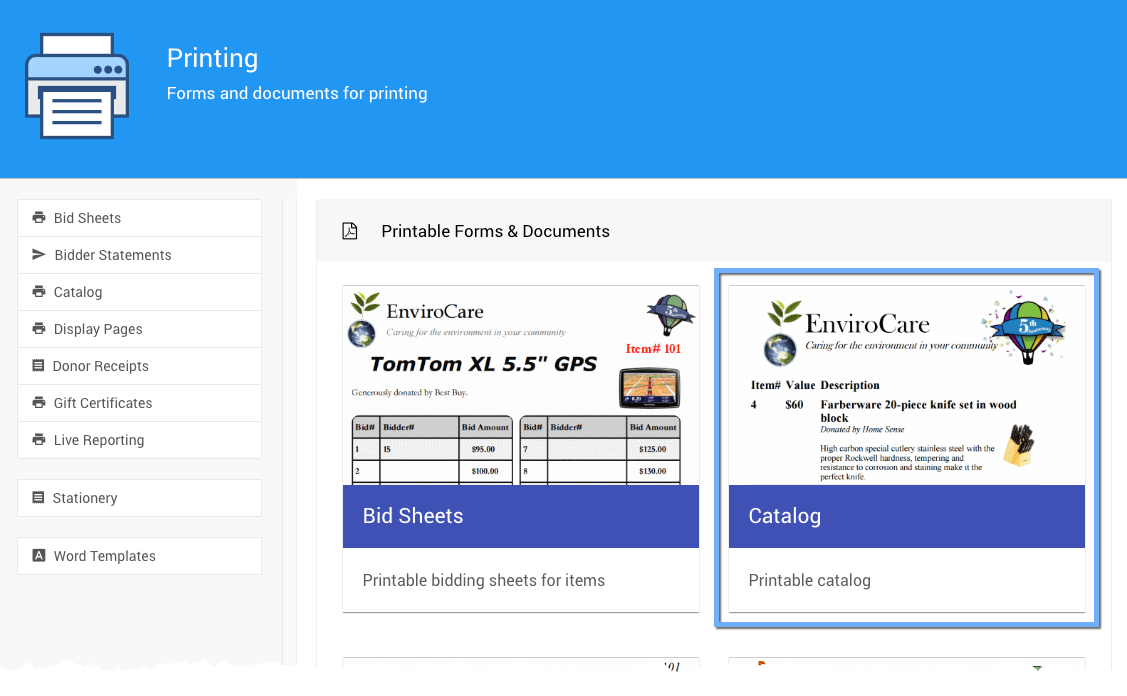
An example from a demonstration event.
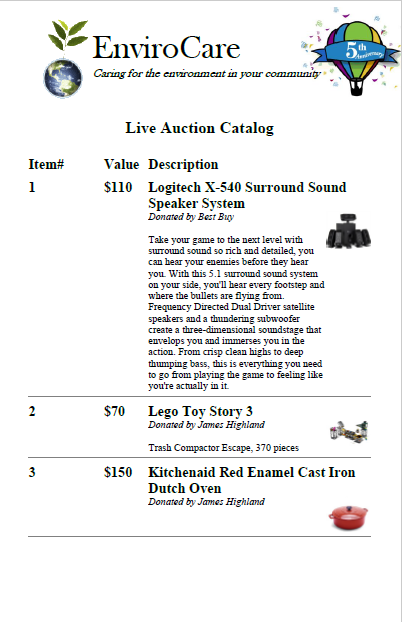
An example Event Catalog page.
The Catalog page has the Selection, Options, Sections, Appearance, and Advanced tabs.
Actions
| Action | Description |
|---|---|
| Download | Creates a single PDF of the catalog for the items on the Selection tab. Depending on your browser, you may be asked for a file name, or Catalog.pdf is saved to your downloads folder. |
| Stationery | Opens the Stationery page. See Stationery. |
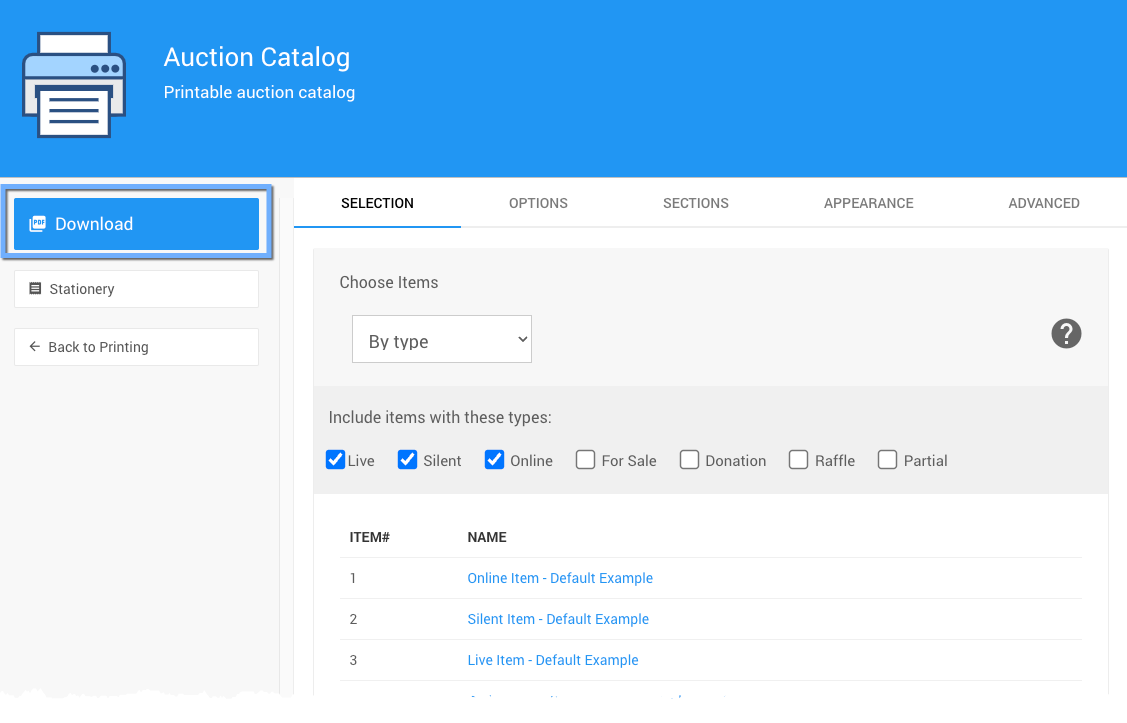
An example from a demonstration event.
You can open and print the PDF in any PDF reader, such as Adobe Acrobat Reader. To print it as a folded booklet, see How To Print A Catalog Booklet.
Selection
The Selection tab lists the items that will be included in the catalog. Use the drop-down selector to filter the list. See Choose Items Filters.
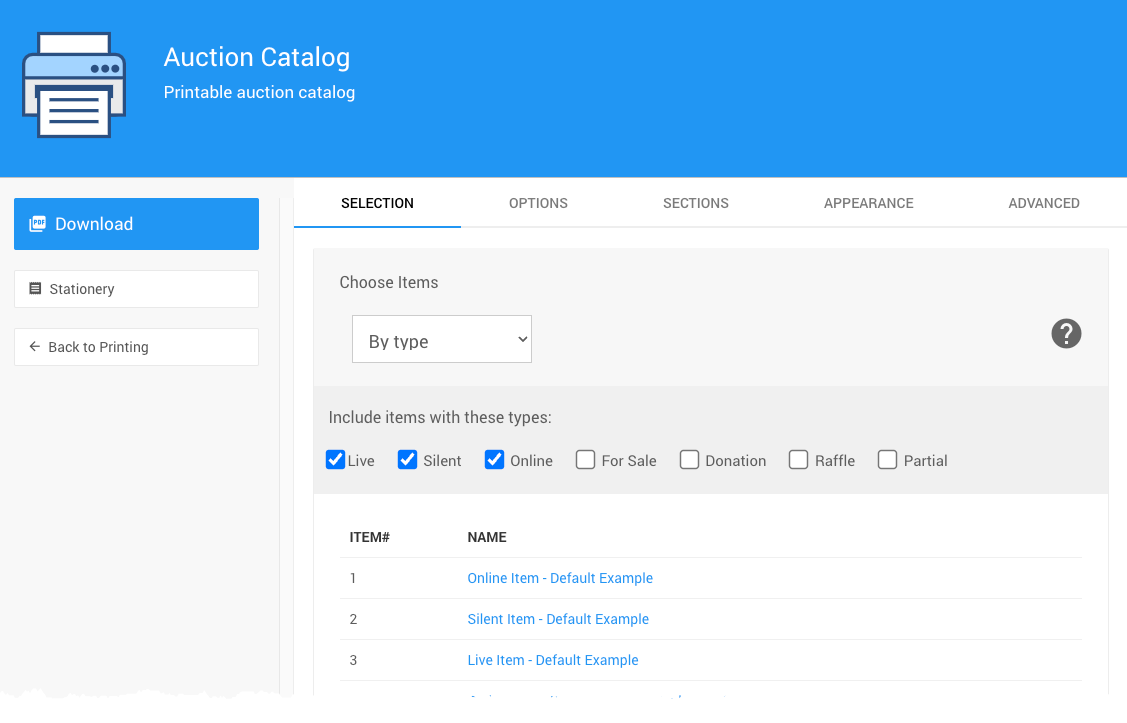
An example from a demonstration event.
Items Always Left Out
The catalog doesn't have a sort selector. The order of items is set by the Sections tab and the grouping options in the Layout panel.
Items are always left out of the printed catalog if their category has Include in printed catalog turned off, or if the item has Exclude from website & catalog turned on. See Items Missing From The Catalog.
Options
The Options tab has the Page, Item Information, and Layout panels.
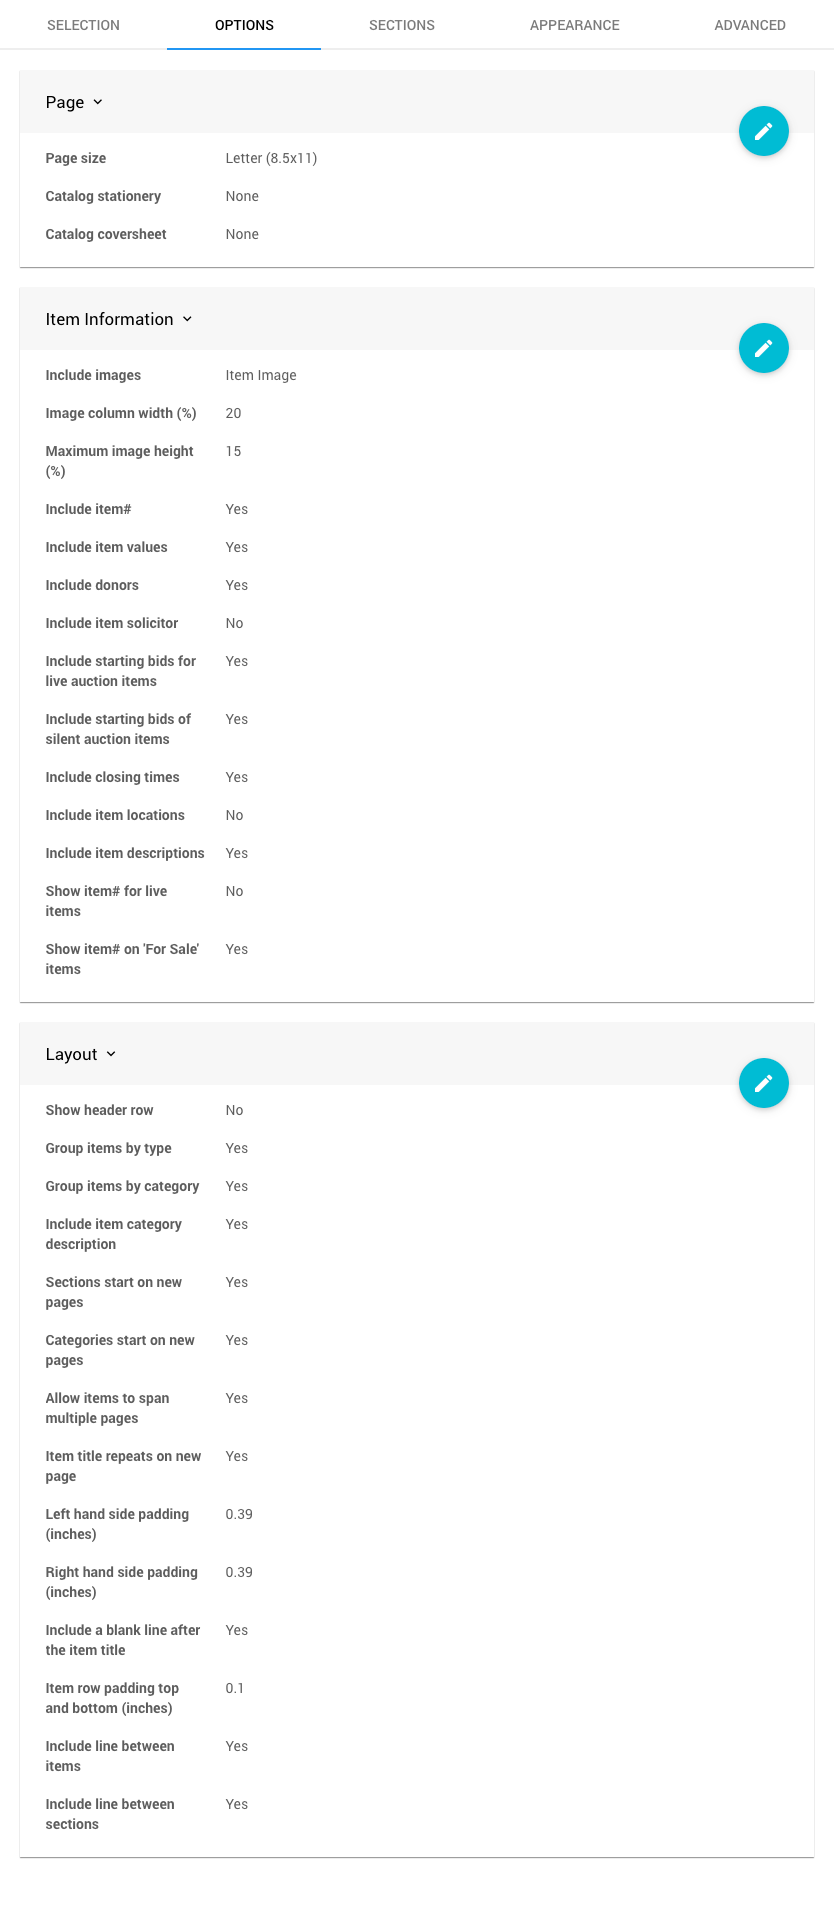
An example Options tab from a demonstration event.
How To Edit Dashboard Panel Settings
You can edit panel settings by clicking on the pencil icon to open the panel for editing.

Panel in "saved" mode.
Once you have made your changes, click the checkmark icon to save these changes. If you have opened multiple panels in a dashboard, you must click each checkmark to keep their settings.

Panel in "edit" mode.
You can click the return arrow icon if you do not want to save your changes.
Page
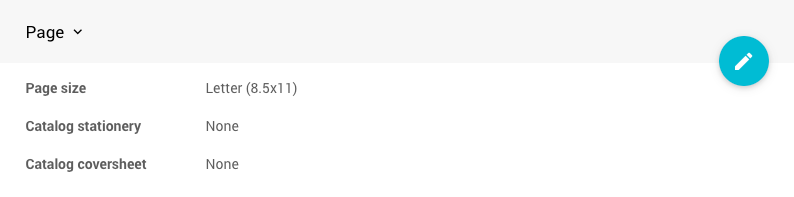
An example from a demonstration event.
| Setting | Description |
|---|---|
| Page size | The paper size for your catalog. |
| Catalog stationery | The stationery the catalog is printed on. See Stationery. |
| Catalog coversheet | A stationery file used as the catalog's cover page. |
Item Information
The Item Information panel controls which item details appear in the catalog.
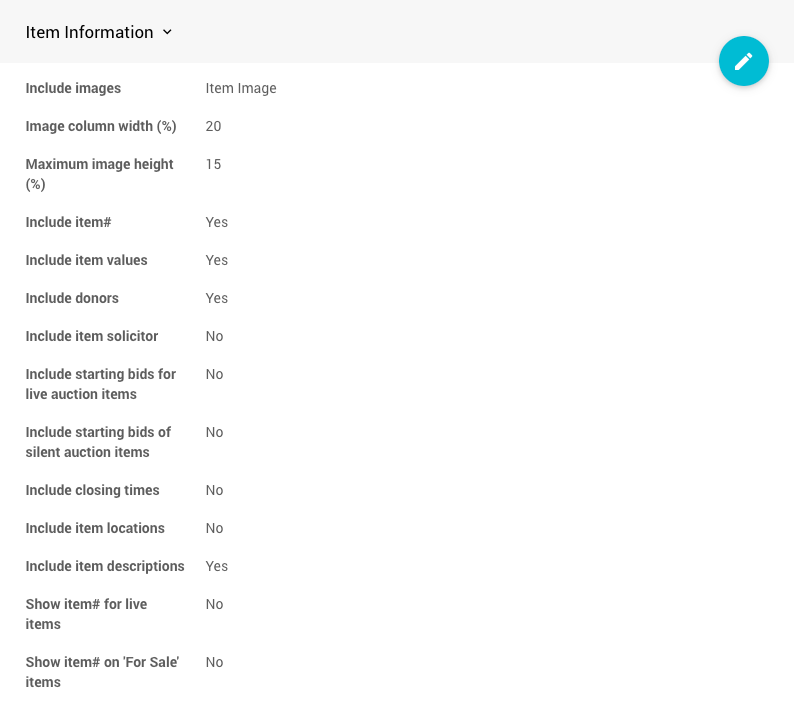
An example from a demonstration event.
| Setting | Description |
|---|---|
| Include images | No, Item Image, or Item QR Code (a QR code linking to the item on your event website). |
| Image column width (%) | The width of the image column, as a percentage of the page width. |
| Maximum image height (%) | The tallest an image can be, as a percentage of the page height. |
| Include item# | Shows the item number. |
| Include item values | Shows the item's value. |
| Include donors | Shows the item's donor. |
| Include item solicitor | Shows the item's solicitor. |
| Include starting bids for live auction items | Shows starting bids for live items. |
| Include starting bids of silent auction items | Shows starting bids for silent items. |
| Include closing times | Shows the item's closing time. |
| Include item locations | Shows the item's location. |
| Include item descriptions | Shows the item's description. |
| Show item# for live items | Shows the item number instead of the live number for live items. |
| Show item# on 'For Sale' items | Shows the item number on For Sale items. |
Layout
The Layout panel arranges the items on the page.
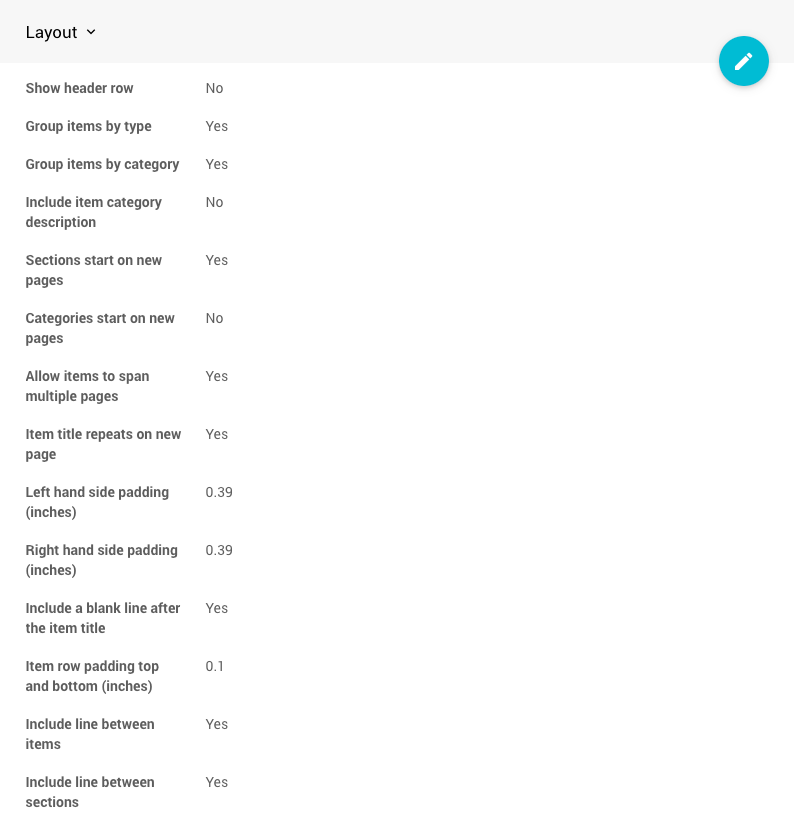
An example from a demonstration event.
| Setting | Description |
|---|---|
| Show header row | Shows a header row above the items. |
| Group items by type | Groups items by item type, in the order set on the Sections tab. |
| Group items by category | Groups items by category. |
| Include item category description | Shows each category's description. |
| Sections start on new pages | Starts each item type section on a new page. |
| Categories start on new pages | Starts each category on a new page. |
| Allow items to span multiple pages | Lets a long item flow onto the next page, instead of leaving white space at the bottom of the page. |
| Item title repeats on new page | Repeats the item number and title when an item spans pages. |
| Left hand side padding (inches) | Space between the left edge of the page and the content. |
| Right hand side padding (inches) | Space between the right edge of the page and the content. |
| Include a blank line after the item title | Adds a blank line after each title. |
| Item row padding top and bottom (inches) | Space above and below each item. |
| Include line between items | Draws a line between items. |
| Include line between sections | Draws a line between sections. |
Sections
The Sections tab sets the order of the item type sections and their titles. See Item Types.
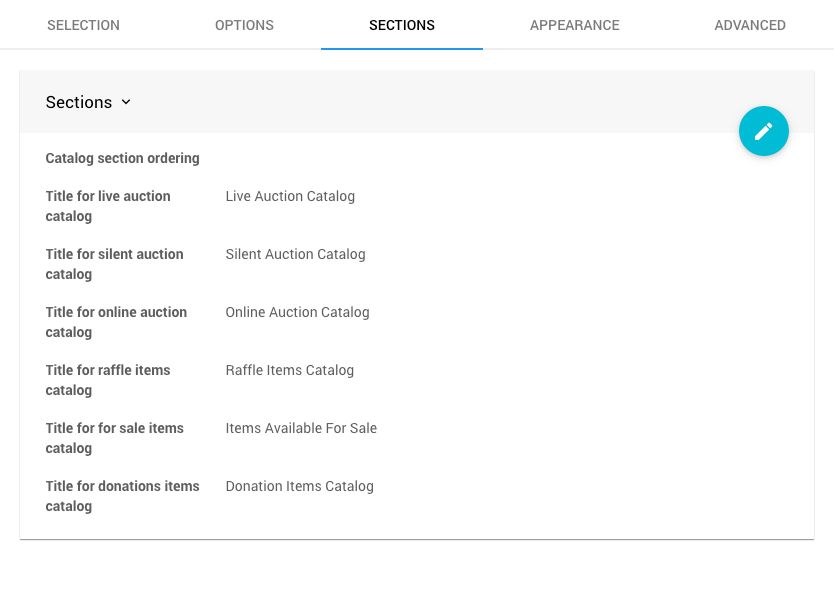
An example Sections tab from a demonstration event.
To change the order, enter the item types in Catalog section ordering as a comma-separated list, for example silent,live,raffle,forsale,donation.
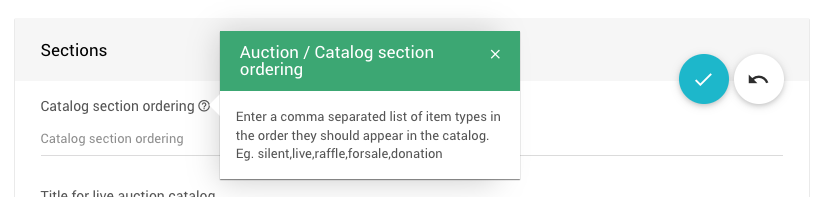
An example from a demonstration event.
| Setting | Default |
|---|---|
| Title for live auction catalog | Live Auction Catalog |
| Title for silent auction catalog | Silent Auction Catalog |
| Title for online auction catalog | Online Auction Catalog |
| Title for raffle items catalog | Raffle Items Catalog |
| Title for for sale items catalog | Items Available For Sale |
| Title for donations items catalog | Donation Items Catalog |
Appearance
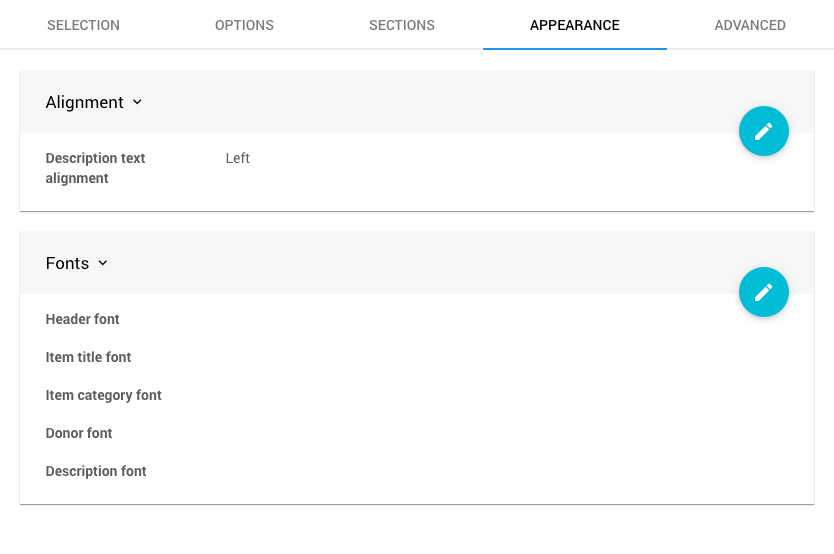
An example Appearance tab from a demonstration event.
Alignment
Description text alignment sets the alignment of the item descriptions: Left (default), Center, or Right.
Fonts
Set the font family, size, and color for each part of the catalog. Click the color to open a color picker, and click the family name to choose from a list of fonts. Sizes are in points (pt).
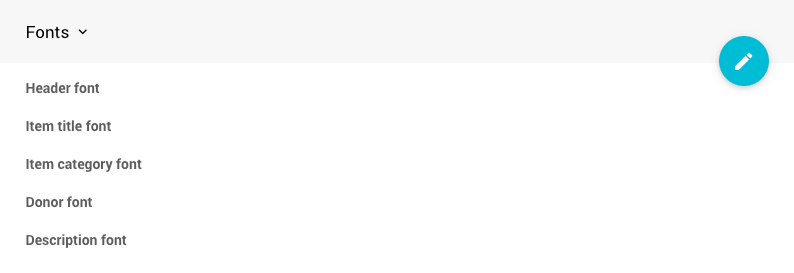
An example from a demonstration event.
Advanced
Advanced feature
This is considered an advanced use case, and support may be limited.
The Advanced tab gives you full control over what is printed for the item description, item donor, and item quantity, using template placeholders. See How To Customize the Item Description Format.
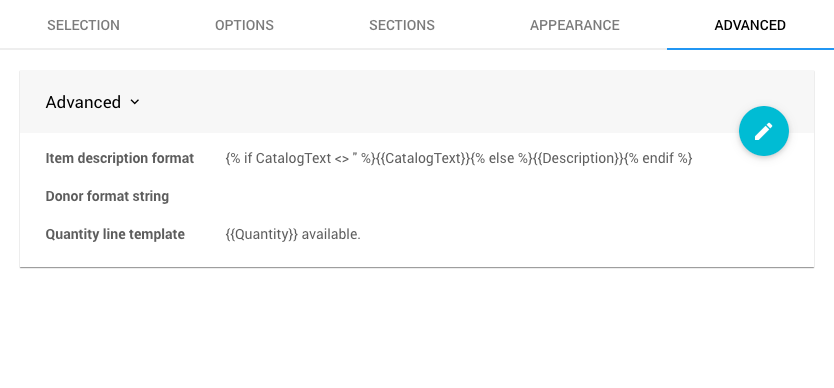
An example Advanced tab from a demonstration event.