
Learn how to set up and download printable gift certificates for the items in your event that are marked as gift certificates.
How Did I Get Here?
From the main event dashboard, click Printing, then click the Gift Certificates block in the Printable Forms & Documents section.
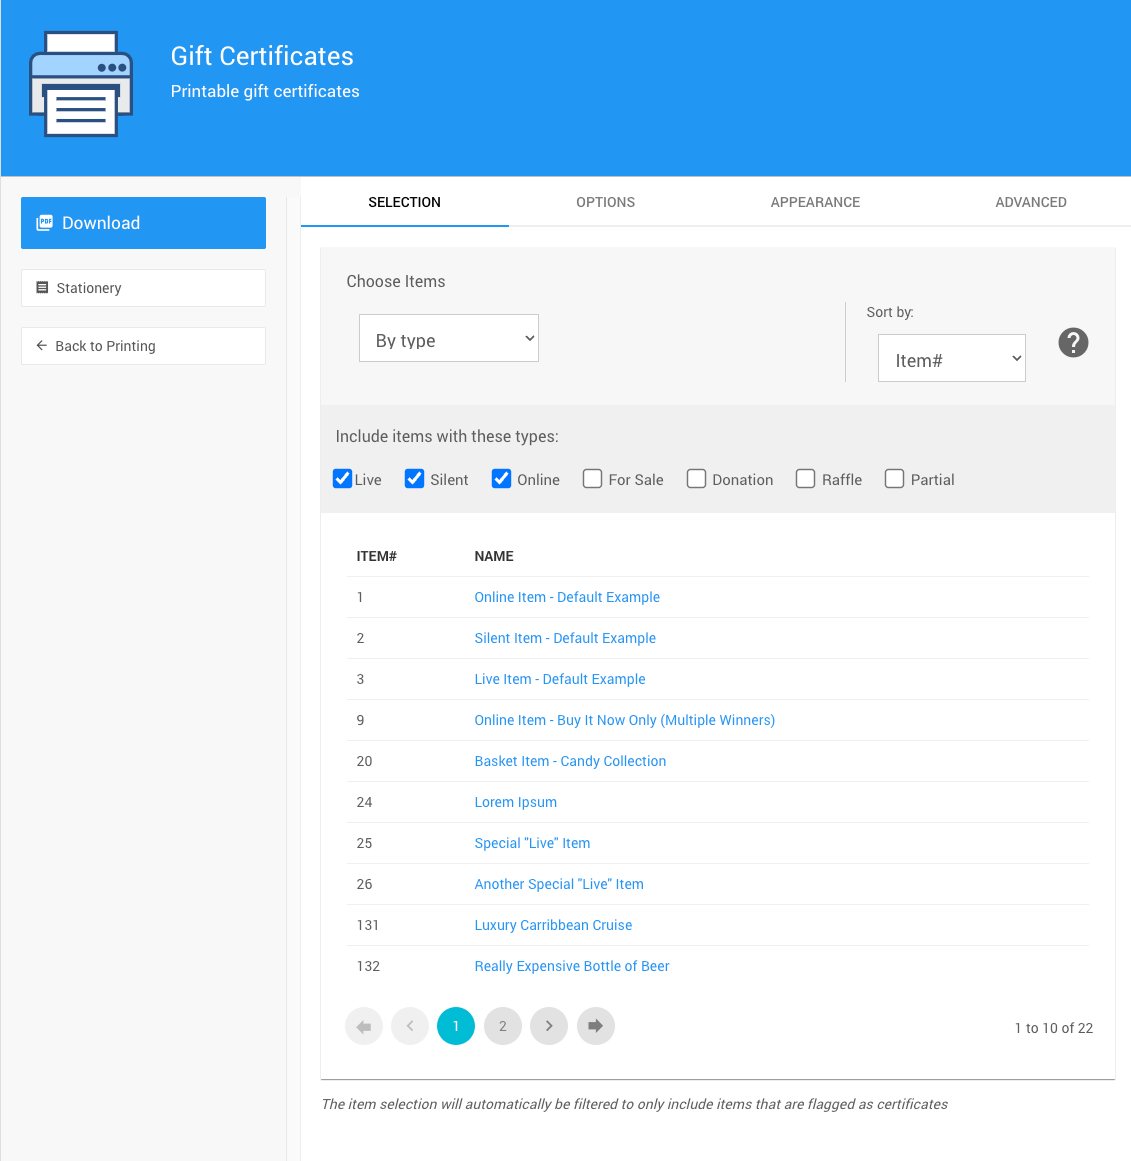
An example Gift Certificates page from a demonstration event.
Selection
The Selection tab lists the items that will get a gift certificate. Use the drop-down selector to filter the list. See Choose Items Filters.
Note
The list only includes items marked Is gift certificate. See How To Create Gift Certificates.
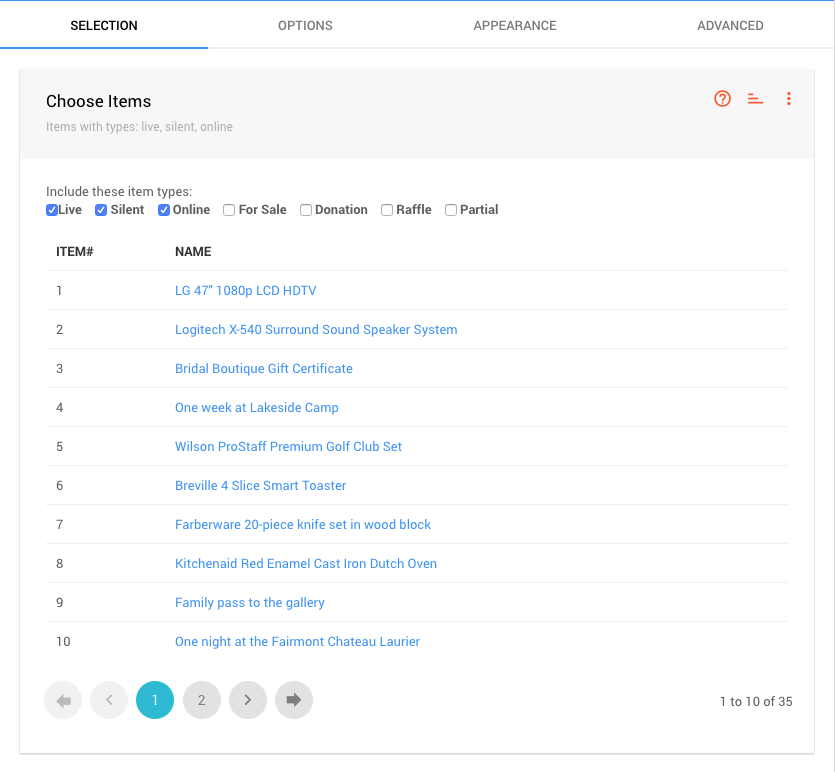
An example from a demonstration event.
Options
The Options tab has the Layout, Item Information, and Donor Information panels.
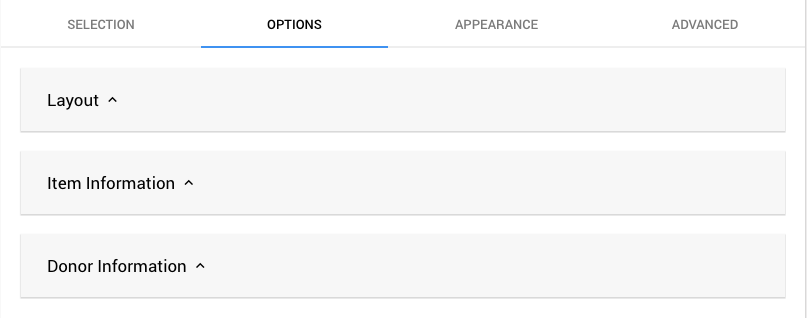
An example Options tab from a demonstration event.
How To Edit Dashboard Panel Settings
You can edit panel settings by clicking on the pencil icon to open the panel for editing.

Panel in "saved" mode.
Once you have made your changes, click the checkmark icon to save these changes. If you have opened multiple panels in a dashboard, you must click each checkmark to keep their settings.

Panel in "edit" mode.
You can click the return arrow icon if you do not want to save your changes.
Layout
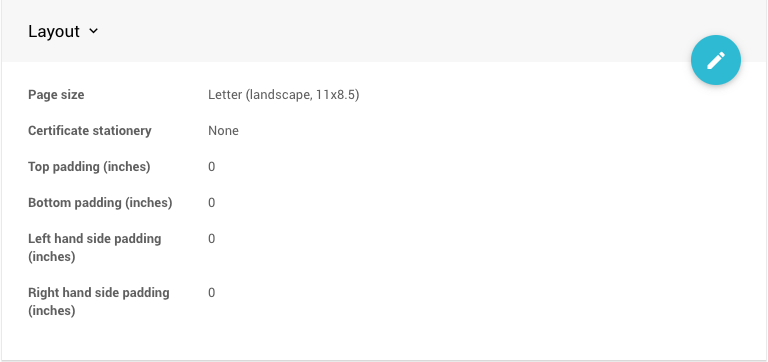
An example from a demonstration event.
| Setting | Description |
|---|---|
| Page size | The paper size for your certificates. Default: Letter (landscape). |
| Certificate stationery | The stationery the certificates are printed on. See Stationery. |
| Top padding (inches) | Space between the top of the page and the content. |
| Bottom padding (inches) | Space between the bottom of the page and the content. |
| Left hand side padding (inches) | Space between the left edge of the page and the content. |
| Right hand side padding (inches) | Space between the right edge of the page and the content. |
Item Information
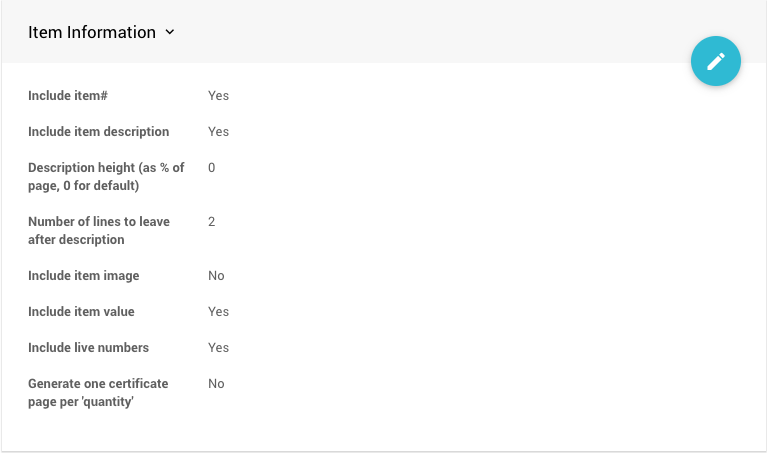
An example from a demonstration event.
| Setting | Description |
|---|---|
| Include item# | Shows the item number. |
| Include item description | Shows the item's description. |
| Description height (as % of page, 0 for default) | How much of the page the description can use. |
| Number of lines to leave after description | Blank lines added after the description. |
| Include item image | Shows the item's image. |
| Include item value | Shows the item's value. |
| Include live numbers | Shows the live number for live items. |
| Generate one certificate page per 'quantity' | For items with a quantity, creates one certificate for each. |
Donor Information
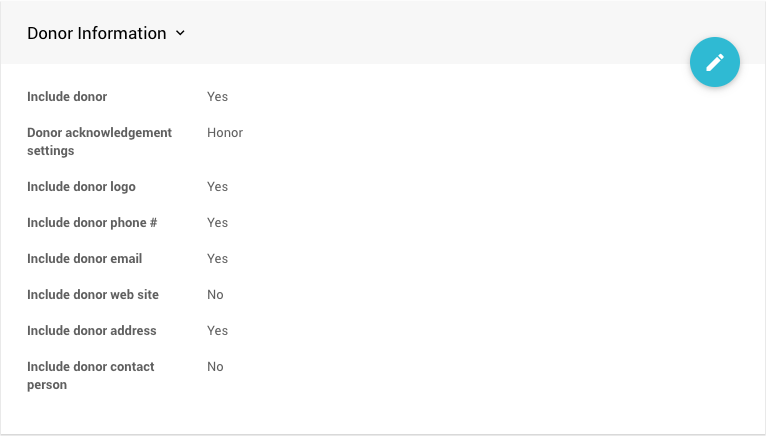
An example from a demonstration event.
| Setting | Description |
|---|---|
| Include donor | Shows the item's donor. |
| Donor acknowledgement settings | How to treat each donor's acknowledge publicly setting. |
| Include donor logo | Shows the donor's logo. |
| Include donor phone # | Shows the donor's phone number. |
| Include donor email | Shows the donor's email address. |
| Include donor web site | Shows the donor's website. |
| Include donor address | Shows the donor's address. |
| Include donor contact person | Shows the donor's contact person. |
Appearance
The Appearance tab has the Alignment and Fonts panels.
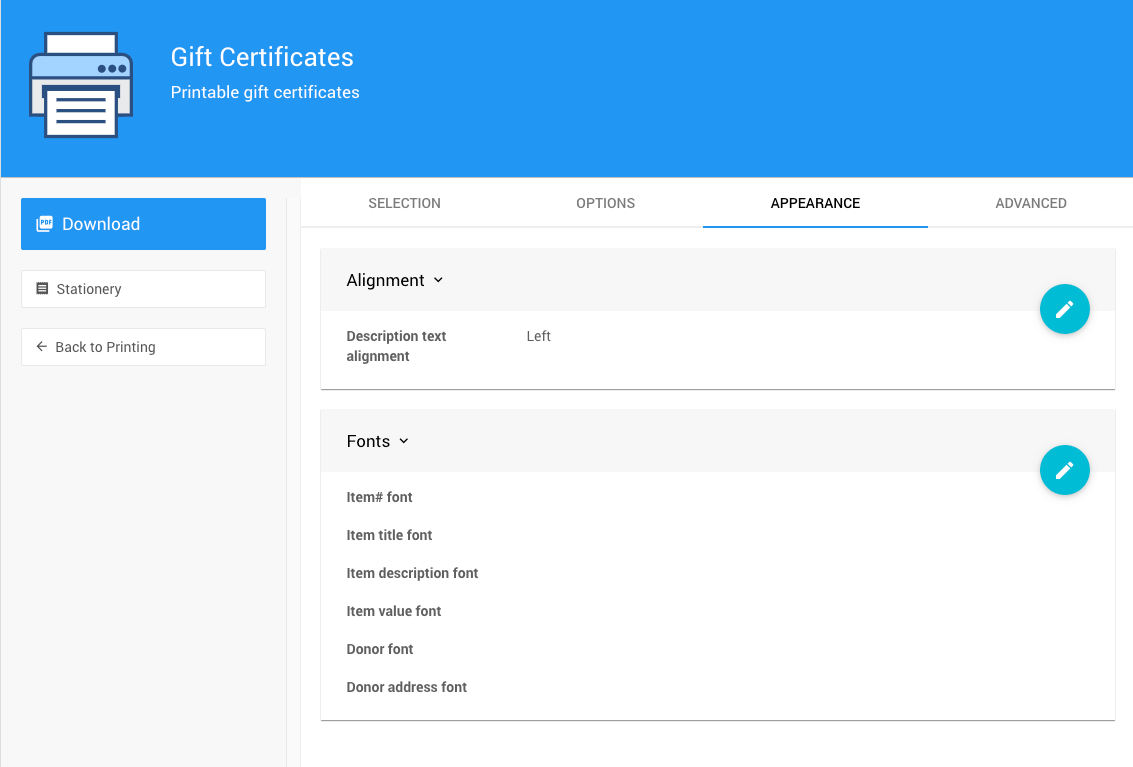
An example Appearance tab from a demonstration event.
Alignment
Choose the Description text alignment from the drop-down.
Fonts
Set the font family, size, and color for the Item# font, Item title font, Item description font, Item value font, Donor font, and Donor address font. Click a color to open the color picker. Leave a size blank, or 0, to use the default.
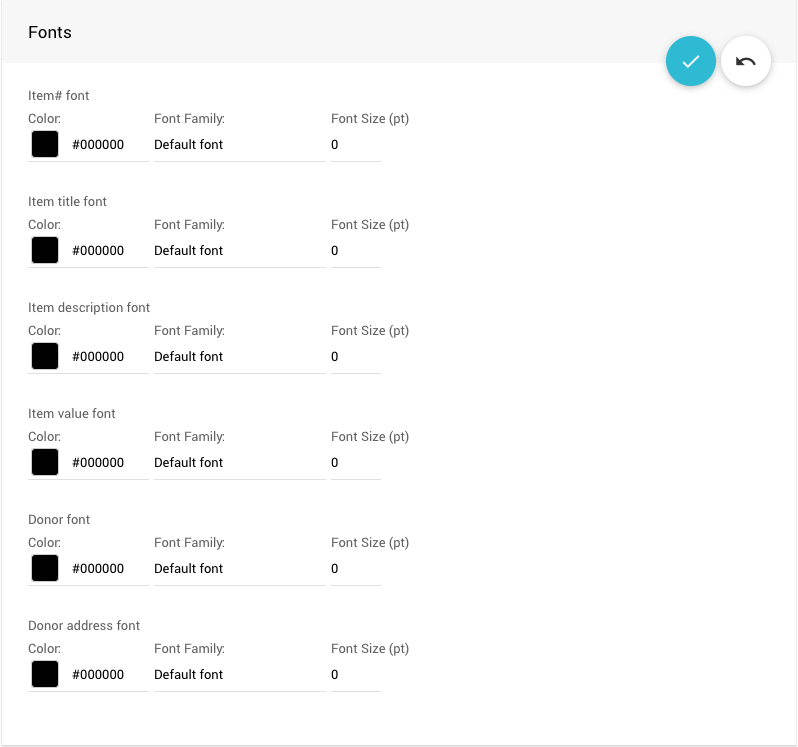
An example from a demonstration event.
Advanced
Advanced feature
This is considered an advanced use case, and support may be limited.
The Advanced tab gives you full control over some of the text on your certificates, using template placeholders.
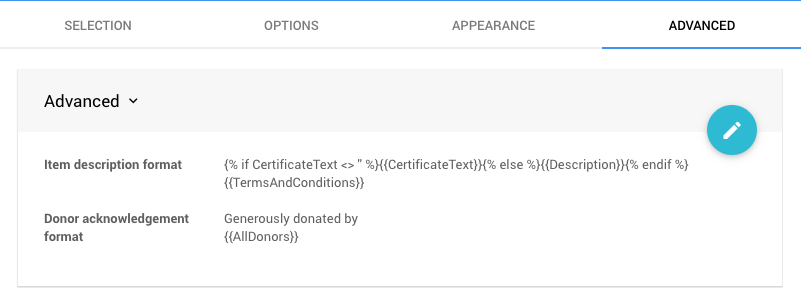
An example Advanced tab from a demonstration event.
| Setting | Description |
|---|---|
| Item description format | What is shown for the item description. See How To Customize the Item Description Format. |
| Donor acknowledgement format | What is shown for the donor acknowledgement. |