
Use Advanced Styling to change the look of individual parts of a website element, either by choosing a target and a style or by writing your own CSS.
Advanced feature
Advanced Styling is considered an advanced use case, and support may be limited.
Open Advanced Styling
- In the Website Editor, click the element you want to style.
- Click Add Style.
- Click Advanced Styling.
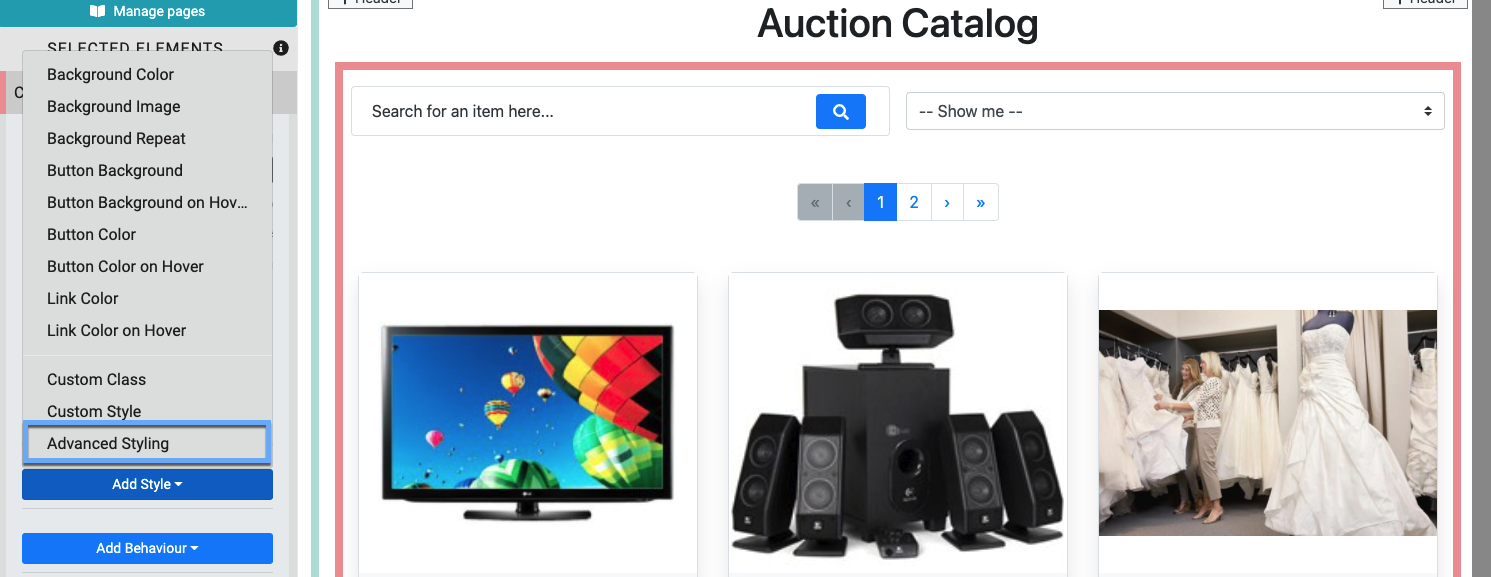
The Add Style options for the Item Catalog element.
The Advanced Styling window opens with two tabs:
| Tab | Use it to |
|---|---|
| By target | Pick a part of the element and a style from drop-down lists. No code needed. |
| Code | Write your own CSS for the element. |
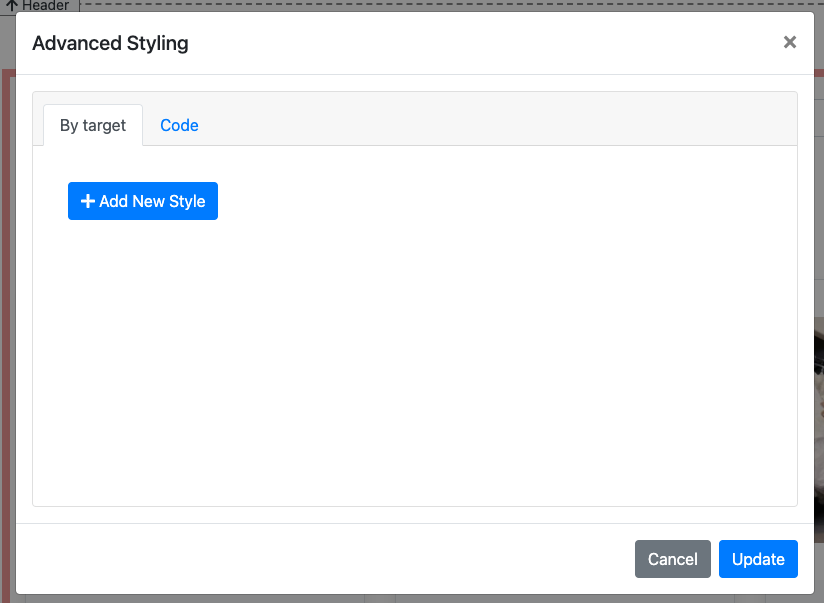
The Advanced Styling window.
Some elements don't have any targets. For those elements, only the Code tab appears.
When you're done, click Update to save your changes. Once styling has been saved, Advanced Styling shows an Edit button in the Add Style options so you can reopen it.
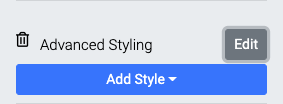
An element with saved Advanced Styling.
How Advanced Styling applies
Styles only affect this element
Everything you add in Advanced Styling, on either tab, is automatically limited to the element you're styling. Other elements on the page, including other elements of the same type, aren't changed.
There are two limits to be aware of when writing CSS on the Code tab:
@mediablocks aren't supported. You can't add styles that only apply at certain screen sizes.- Only the first selector in a list is limited to the element. In a rule like
a, b { },aonly affects this element, butbapplies to the whole page. Write a separate rule for each selector instead.
Which style wins
When two styles set the same property, Advanced Styling uses this order:
- By target lines win over Code tab CSS.
- On the By target tab, a line higher in the list wins over a line below it.
- On the Code tab, a rule higher in the box wins over a rule below it. This is the opposite of how CSS normally works, where the last rule wins.
Put the most important style first:
If a style isn't taking effect, check whether a line above it, or a By target line, sets the same property.
Style by target
Use the By target tab to style part of an element without writing code.
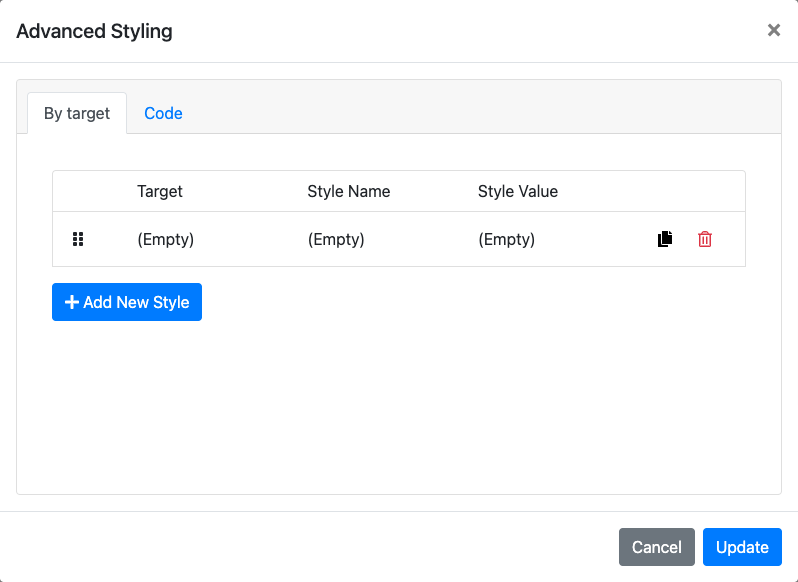
A new style line on the By target tab.
Steps
- On the By target tab, click Add New Style. A new line appears.
- Click the line to open the Edit Style window.
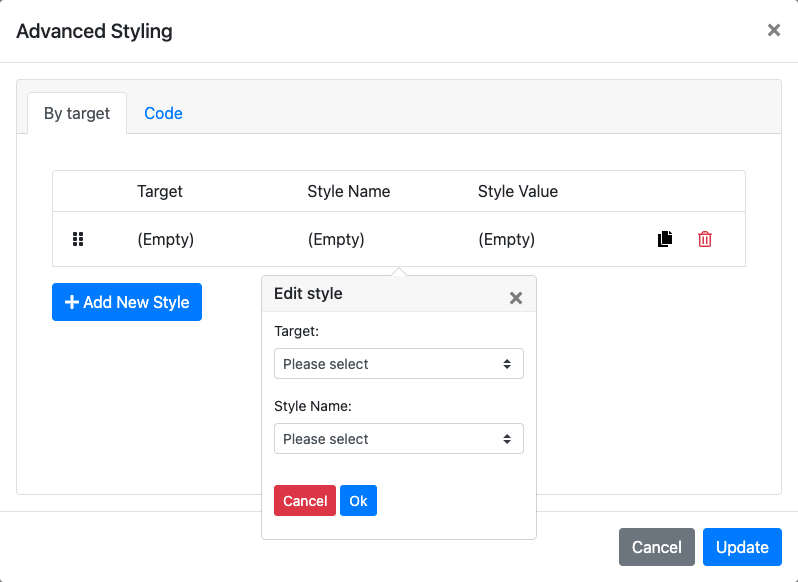
- Choose a Target, which is the part of the element you want to change.
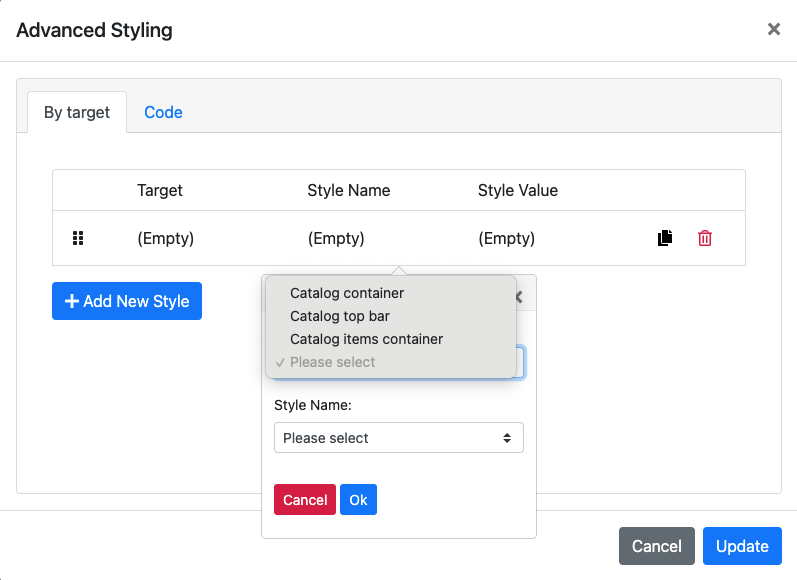
The targets available for the Item Catalog element.
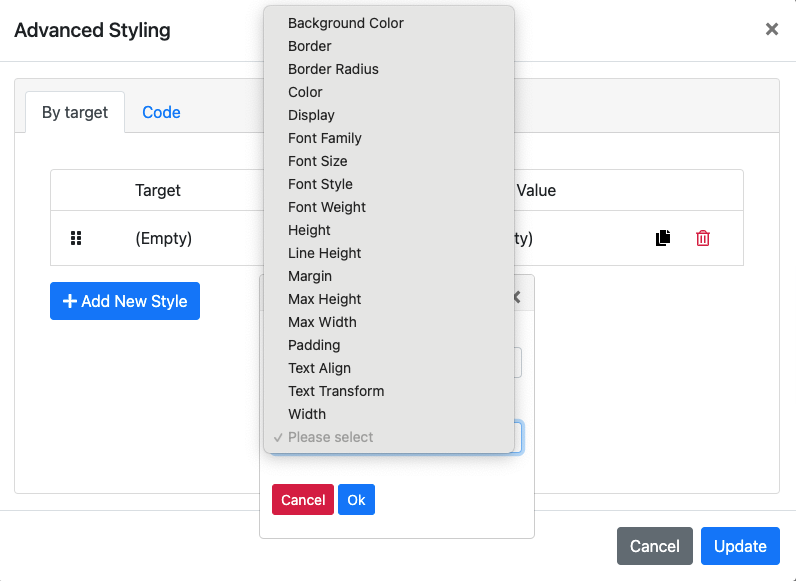
- Choose a Style Name, which is the property you want to change. The window expands to show the settings for that style, such as a color picker.
- Set the value and click Ok. The style appears as a line on the By target tab.
- Click Update to save.
Manage style lines
| To | Do this |
|---|---|
| Change the order | Drag the line by the handle on its left. Lines higher in the list take priority. |
| Copy a line | Click the copy icon on the right of the line. Use this to set several styles for the same target. |
| Delete a line | Click the red trash can icon. The line is removed right away, without a confirmation. |
About targets and styles:
- The Target list is built from what's on screen when you open the window. If part of the element isn't showing at the time, such as the message for an empty catalog, it won't be listed as a target.
- The Style Name list is the same for every element. Not every style has a visible effect on every target.
Example: Item catalog top bar background color
This example changes the background color of the top bar in an Item Catalog.

A demo Item Catalog before styling.
- Add a new style line and open it.
- Set Target to Catalog top bar and Style Name to Background Color.
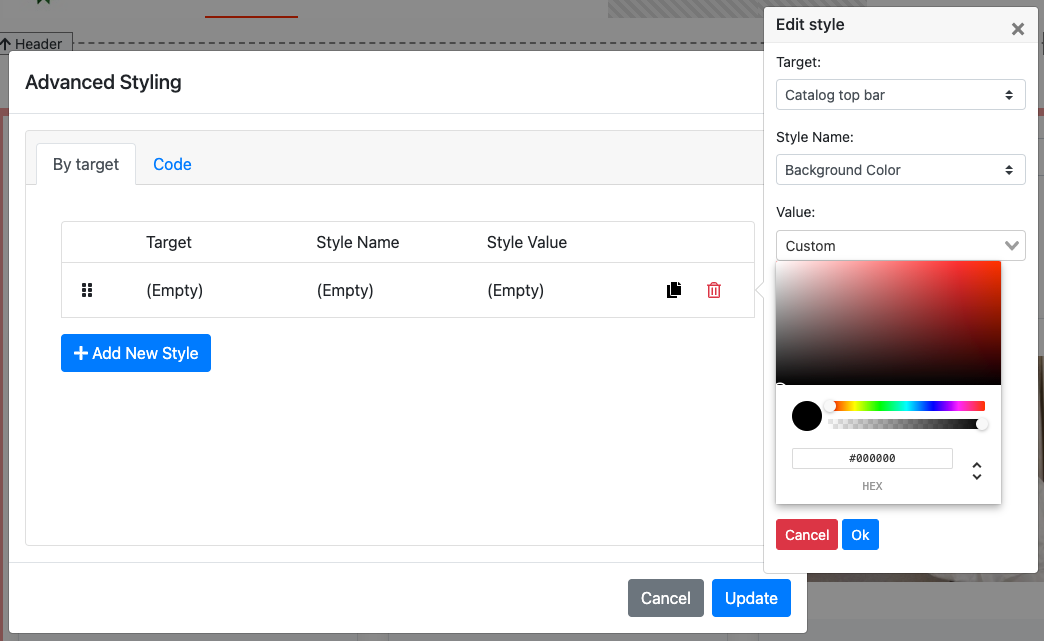
- Choose a color and click Ok.
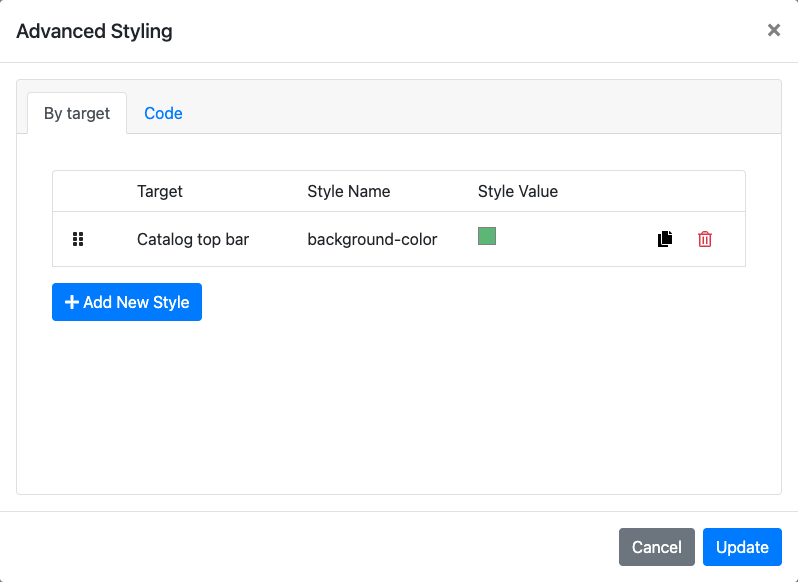
- Click Update.
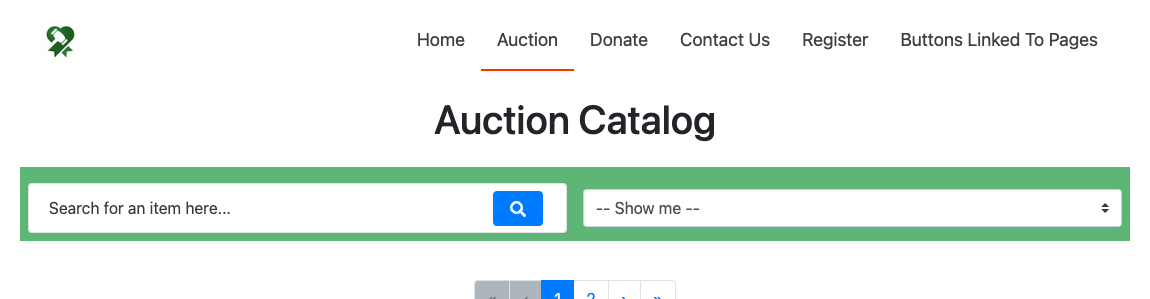
The Item Catalog after the change.
Style with code
Use the Code tab to write your own CSS for the element. Write standard CSS, as described in the MDN CSS reference.
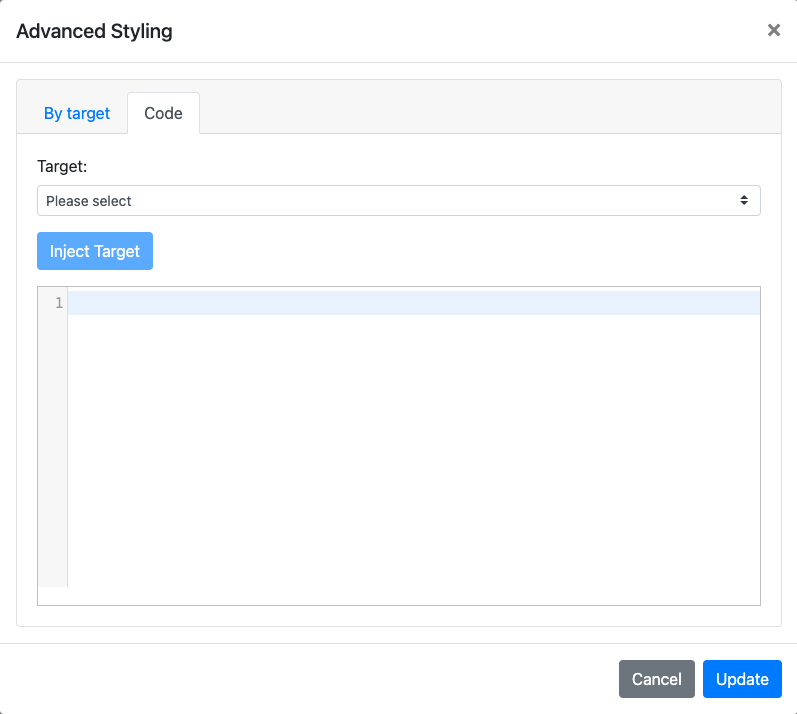
The Code tab.
The Code tab has two shortcuts. You don't have to use them.
| Shortcut | What it does |
|---|---|
| Target and Inject Target | Choose a target from the same list as the By target tab, then click Inject Target to insert its CSS selector at your cursor. |
| Color and Inject Color | Choose a theme color or a custom color, then click Inject Color to insert its color value at your cursor. |
Example: Item catalog top bar background color
This is the same change as the By target example, made with code.
- On the Code tab, choose Catalog top bar as the Target and click Inject Target.
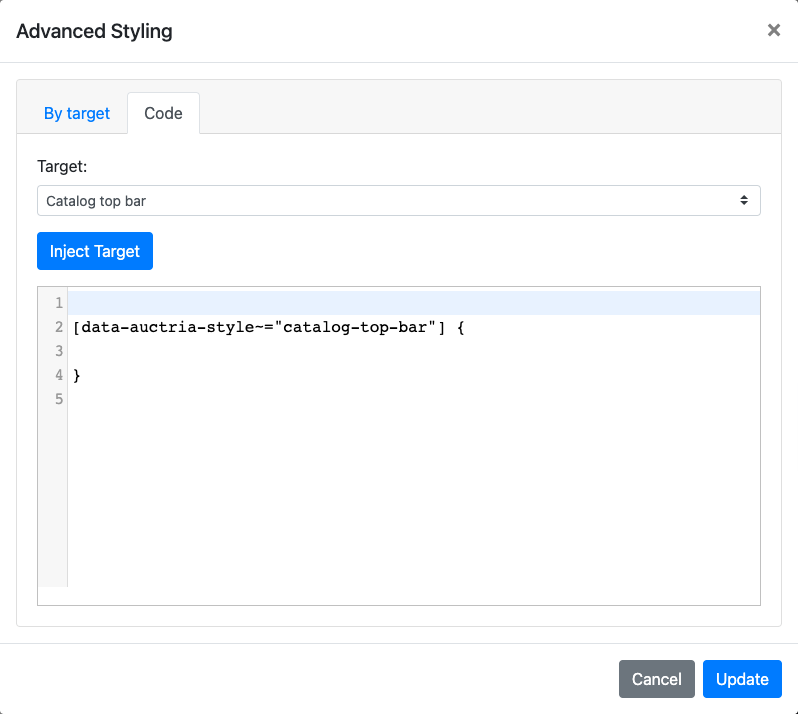
The Catalog top bar target inserted in the editor.
- Add the background color inside the braces:
background-color: #5EB676;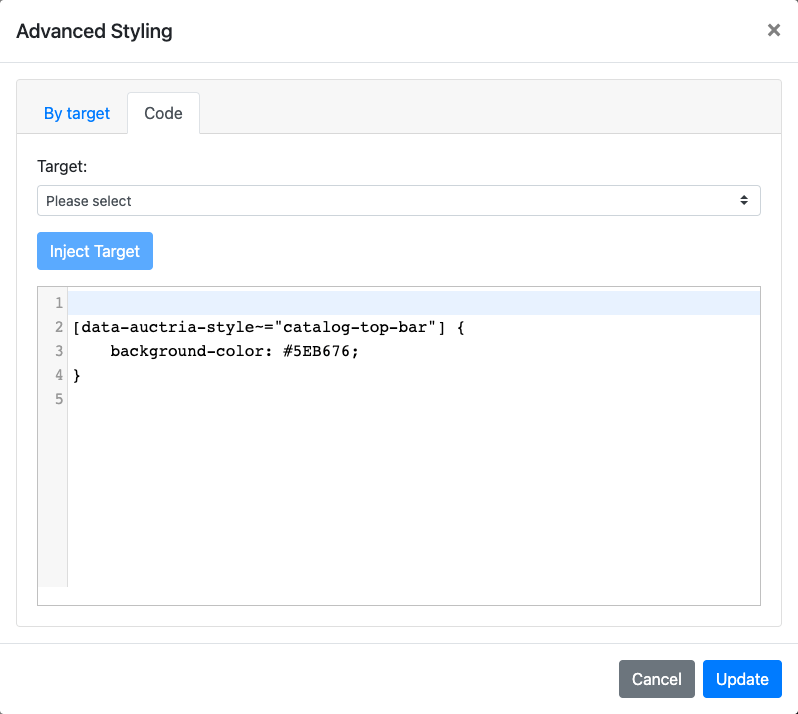
- Click Update.
Example: Item card image shape
You can also write CSS for parts of an element that aren't in the Target list. This example changes the circular images in the Item Card (B) catalog style to ovals.
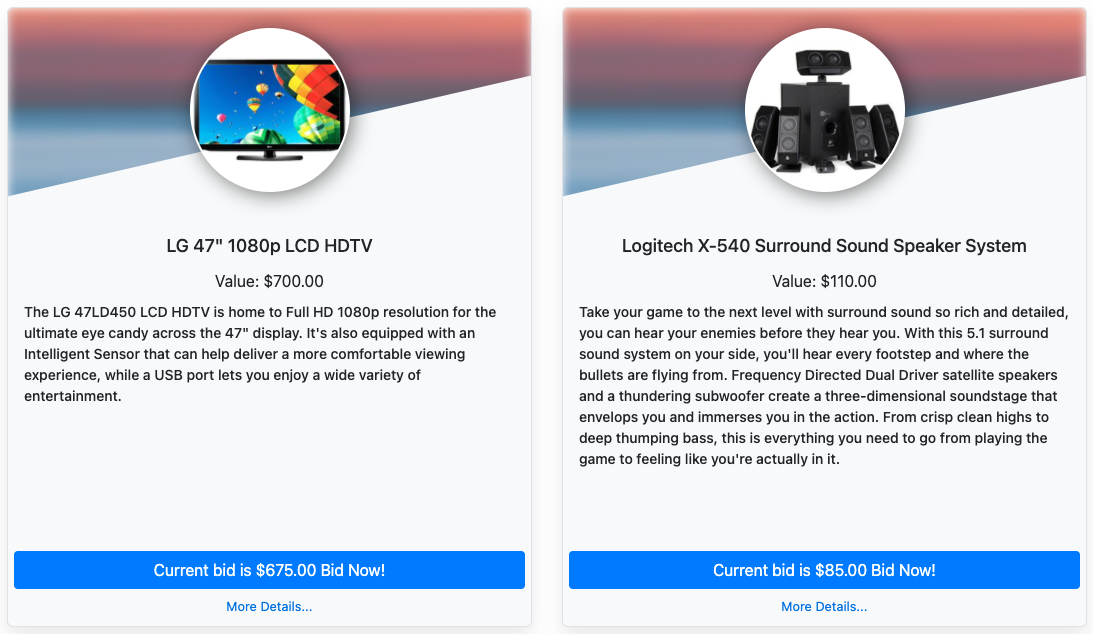
The default Item Card (B).
.item-card-small-b .item-card-top .profile-container .profile-container-inner {
  border-radius: 100% / 50%;
}
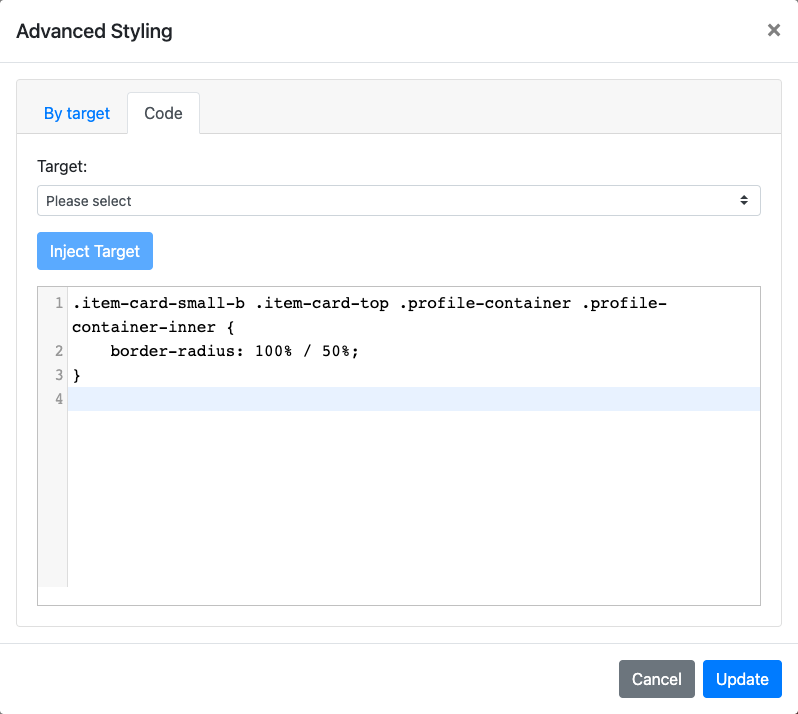
The CSS on the Code tab.
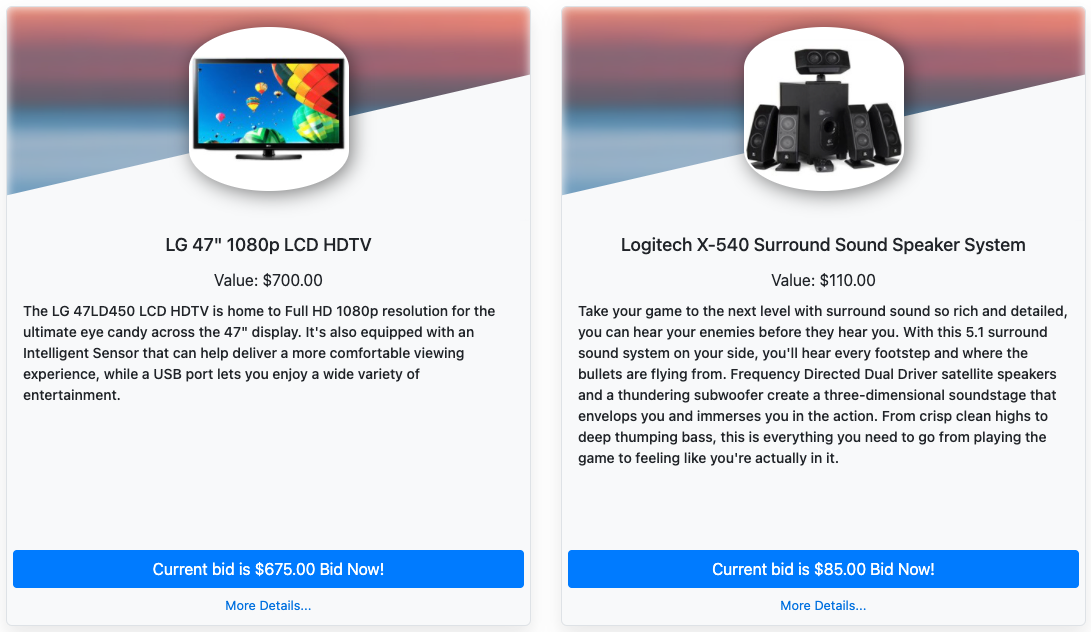
Item Card (B) after the change.
Use both tabs together
By target lines and Code tab CSS can be combined on the same element. For example, keep the green top bar from the By target example, then add CSS on the Code tab to round the bar's corners and center its drop-down lists.
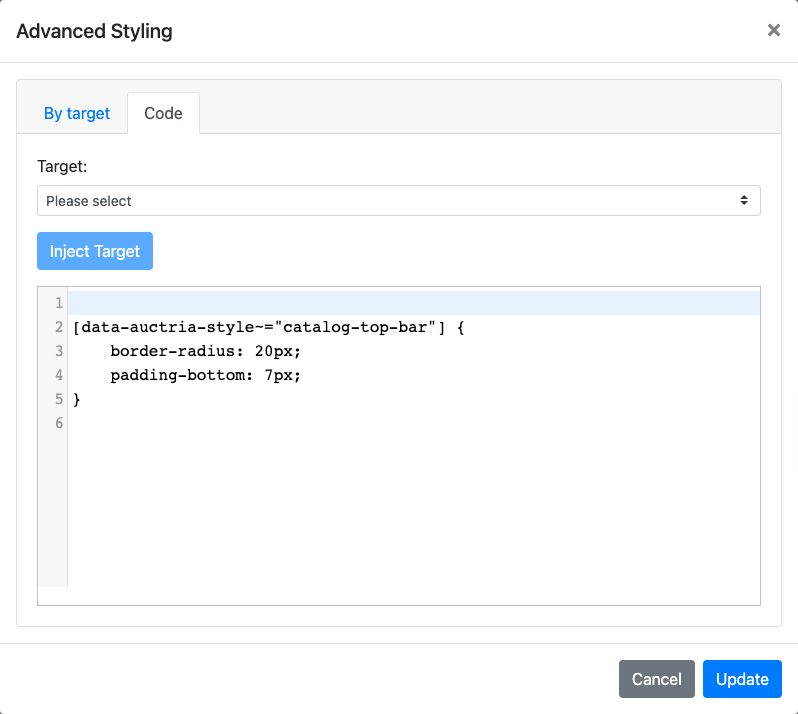
Extra CSS on the Code tab.
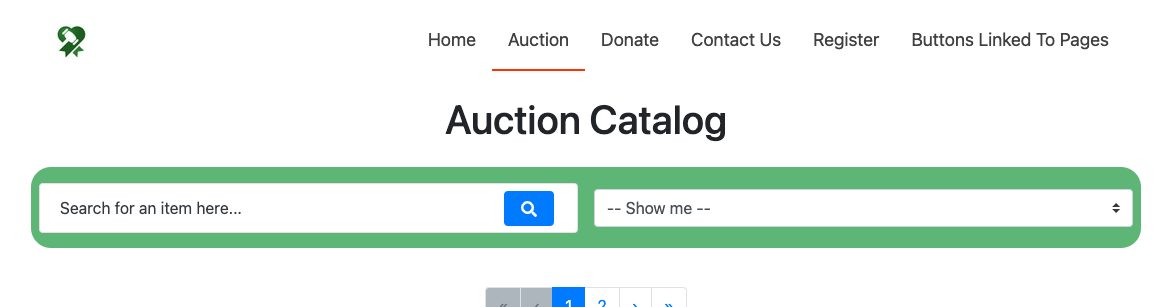
The Item Catalog with both tabs applied.
Remember that By target lines win when both tabs set the same property. In this example, set the background color on only one tab. See Which style wins.